Hi Guys, it has been a long time since I last post a tutorial. In this tutorial, we are recycling our potato chips packaging into a bag or pencil case with lining. As the world is calling for reduce wastage in plastic, let’s turn our chips packaging into something useful. Now let’s begin our save the earth campaign.
Materials
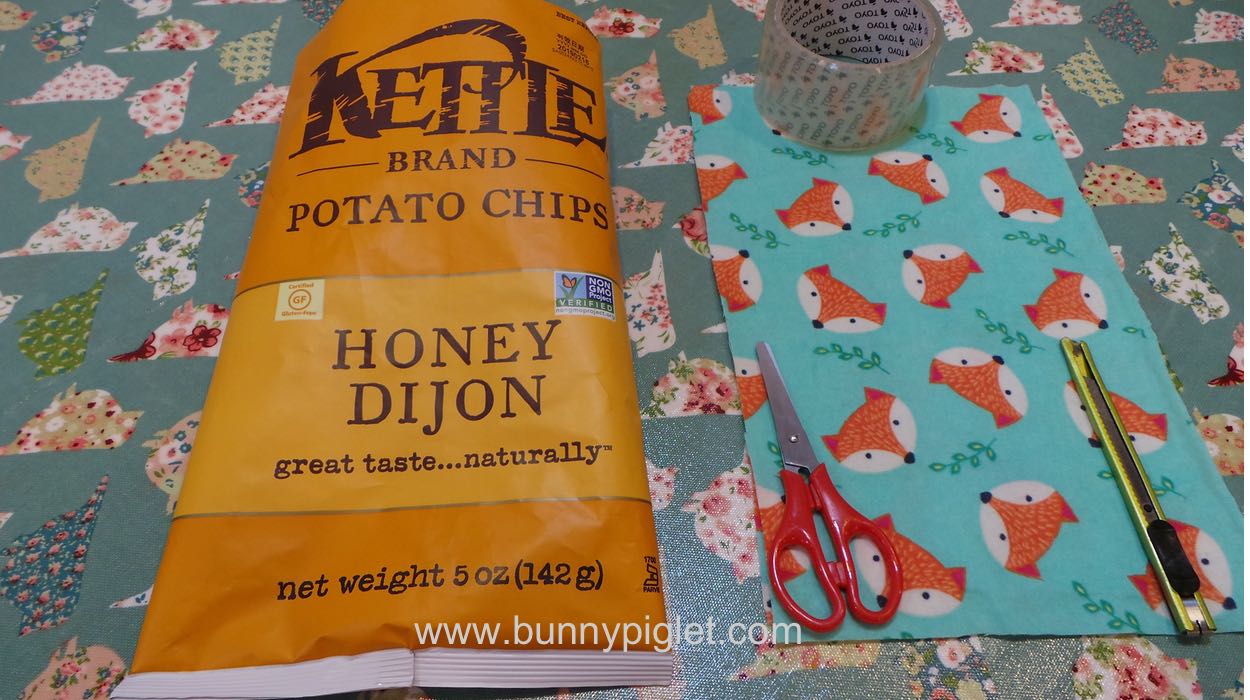
- Chips bag (prefer Kettle brand as material does not tear easily)
- Scotch tape
- Scissors
- Penknife
- Lining fabric
- Zipper (not in picture)
Instructions
Step 1
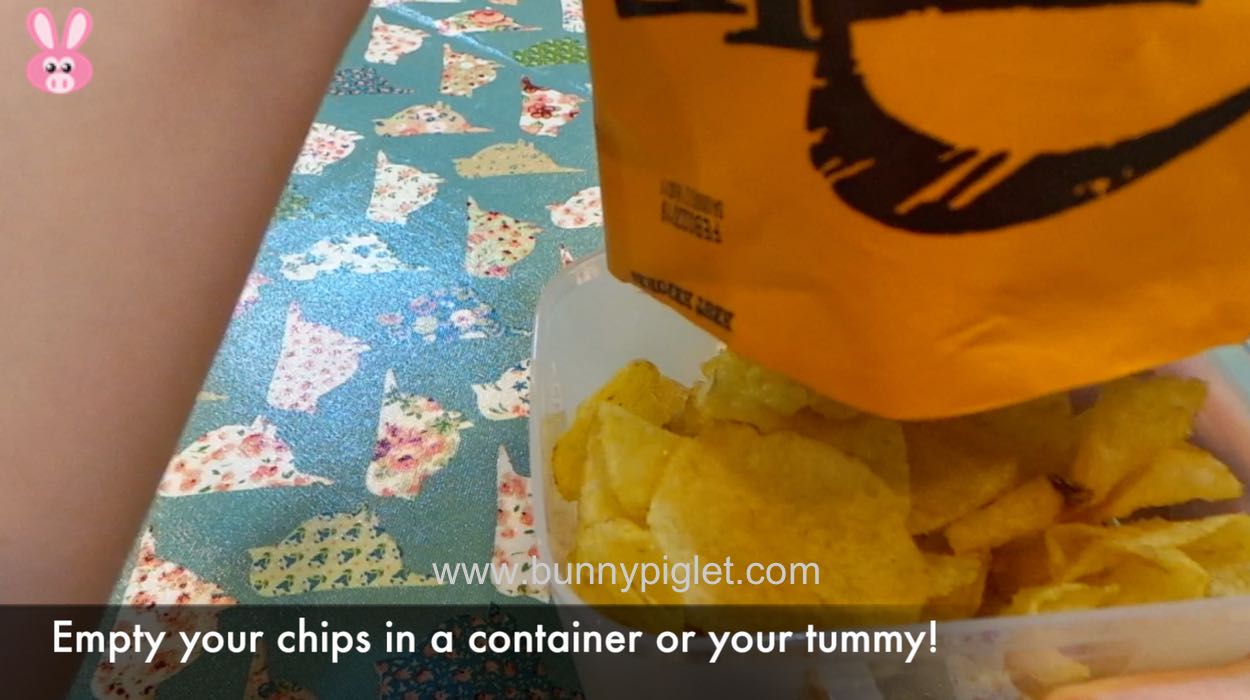
Empty your potato chips, of course. You can pour them into a container and enjoy it later or just finish them up. Please remember to cut it straight and nice. Do not tear it open as it destroys the bag.
Step 2
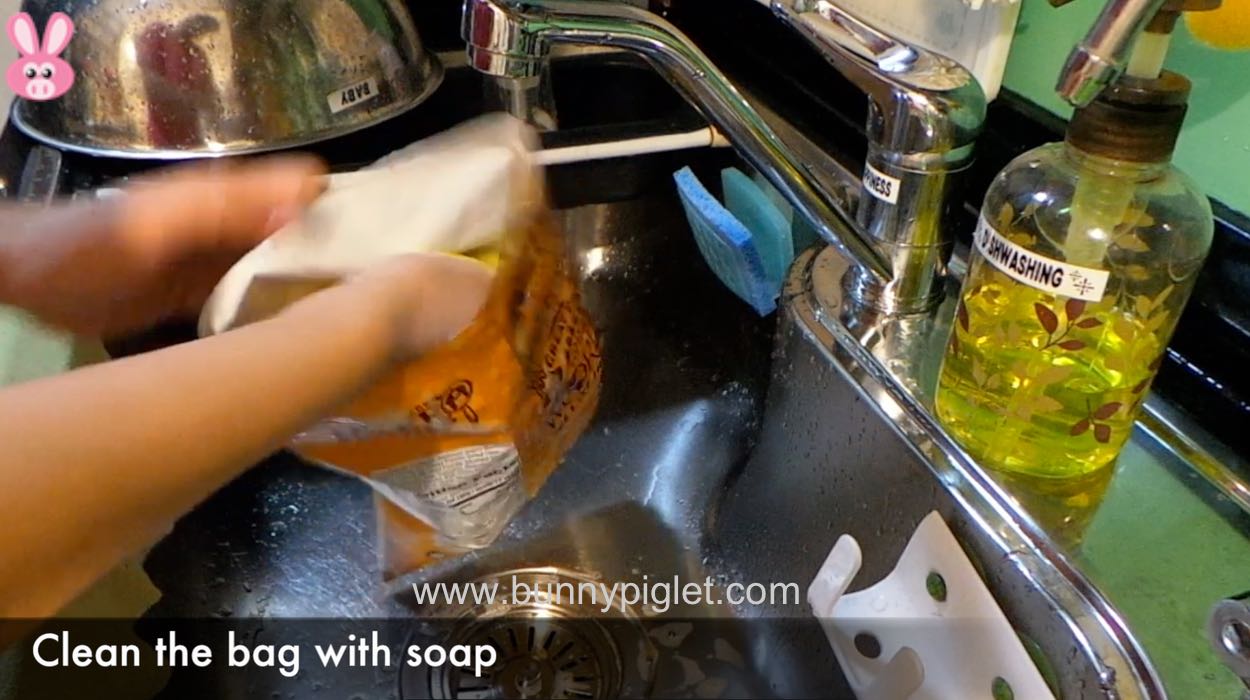
Wash the chips bag with soap. Make sure it is no longer oily and no residue is left.
Step 3
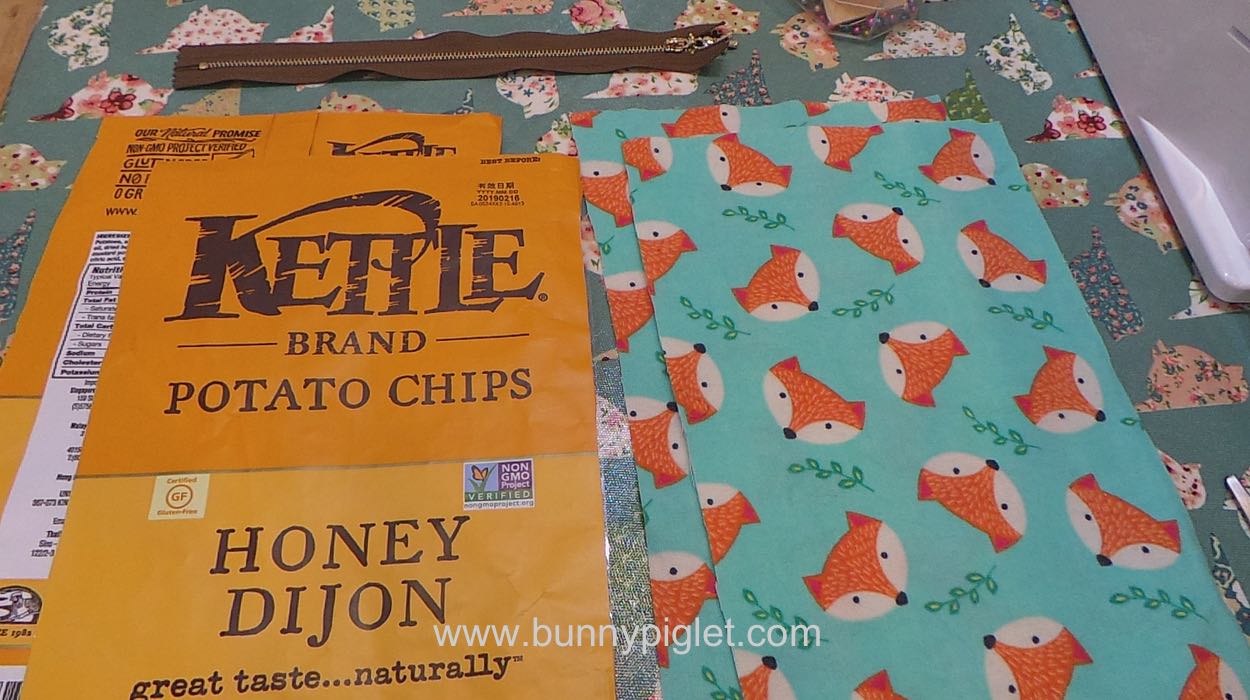
Cut the chips bag into front and back panels. Cut out 2 linings exactly the same size as the chips panels. Get a zipper that is long enough to cover the top of the chips bag. I am using 20cm length zipper.
Step 4
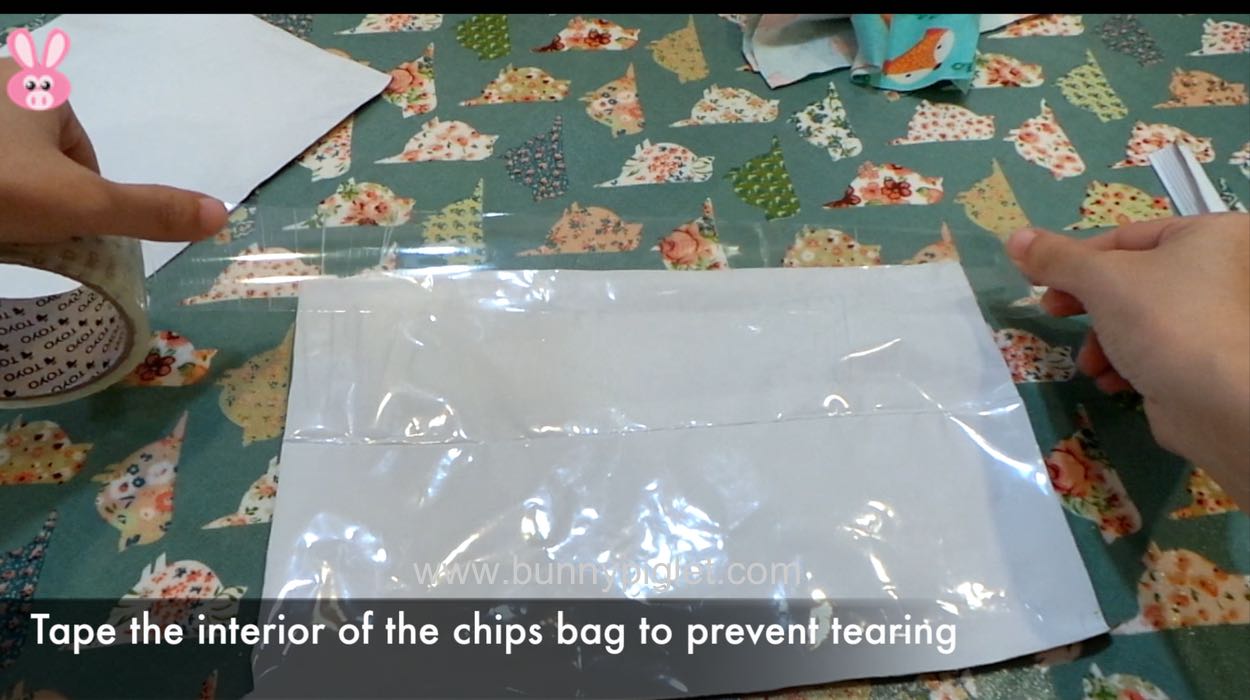
Use the scotch tape to tape the interior of the chips bag to prevent tearing. I am using a transparent one but an opaque one is fine too, as this will not be shown after the bag is completed.
Step 5
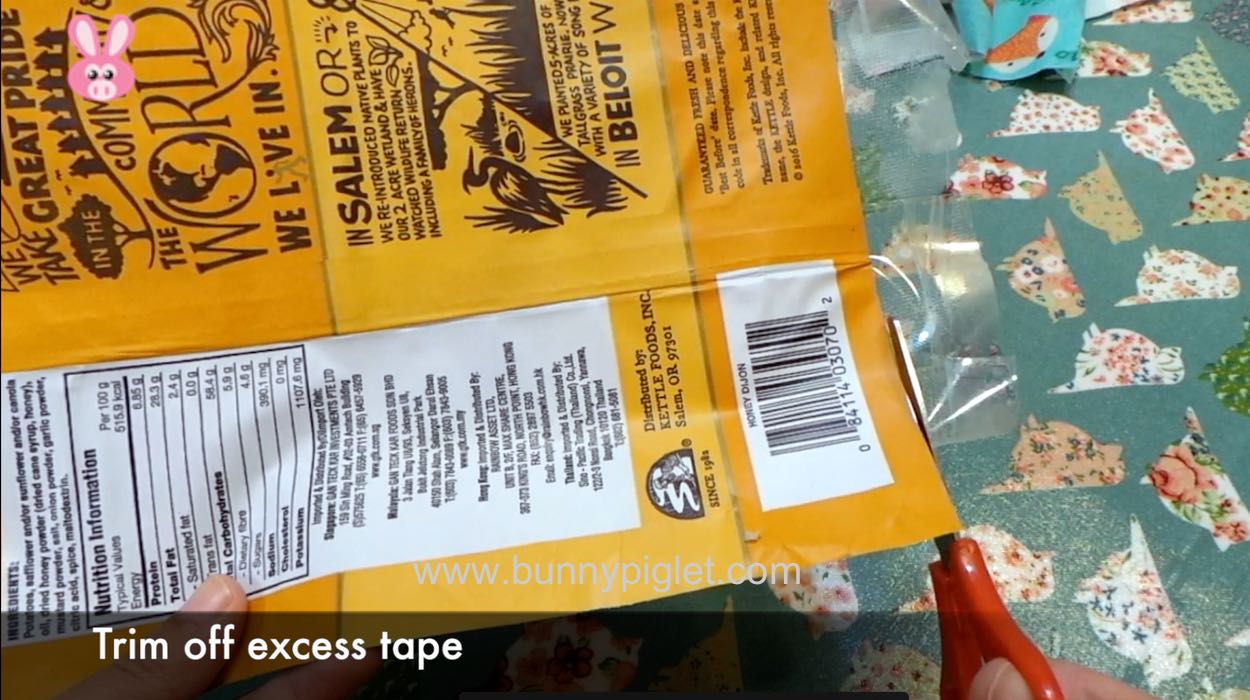
Trim off excess tape with scissors. It is better to stick the tape with excess because you want the edges that you are sewing on to be secure and doesn’t tear easily.
Step 6
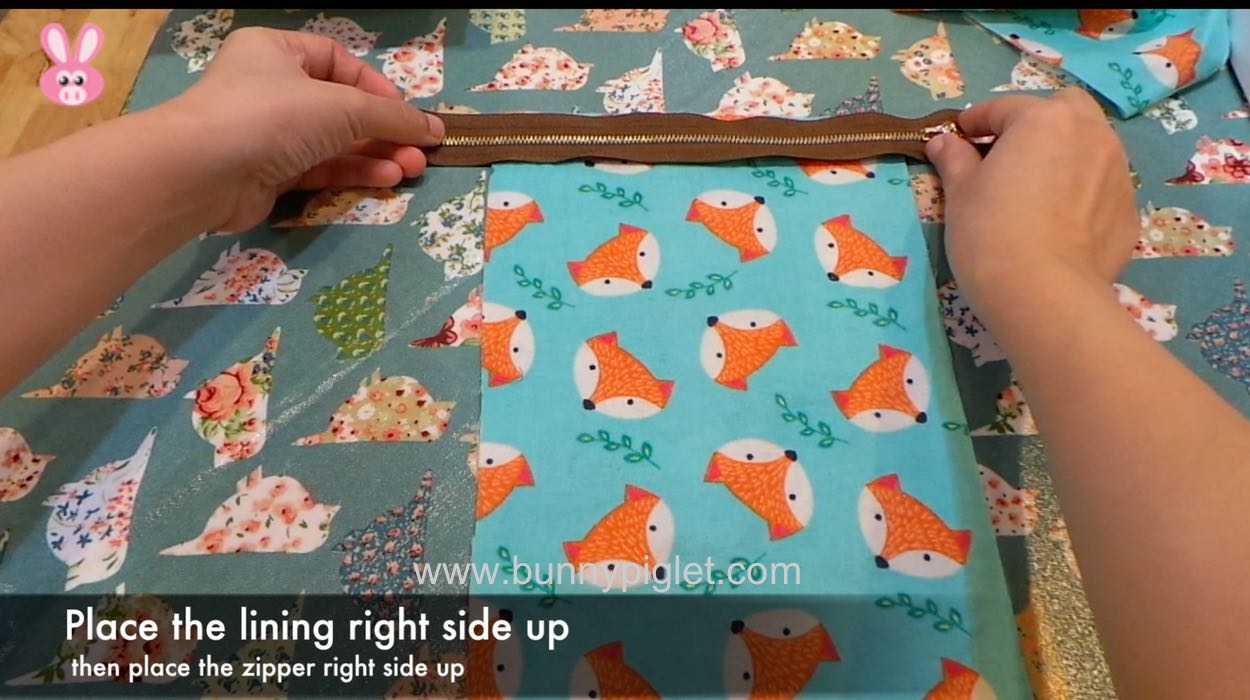
Place the lining with the right side facing up, then place the zipper with the right side facing up as well. If you prefer to open your bag from right to left, place the opening on your left as shown.
Step 7
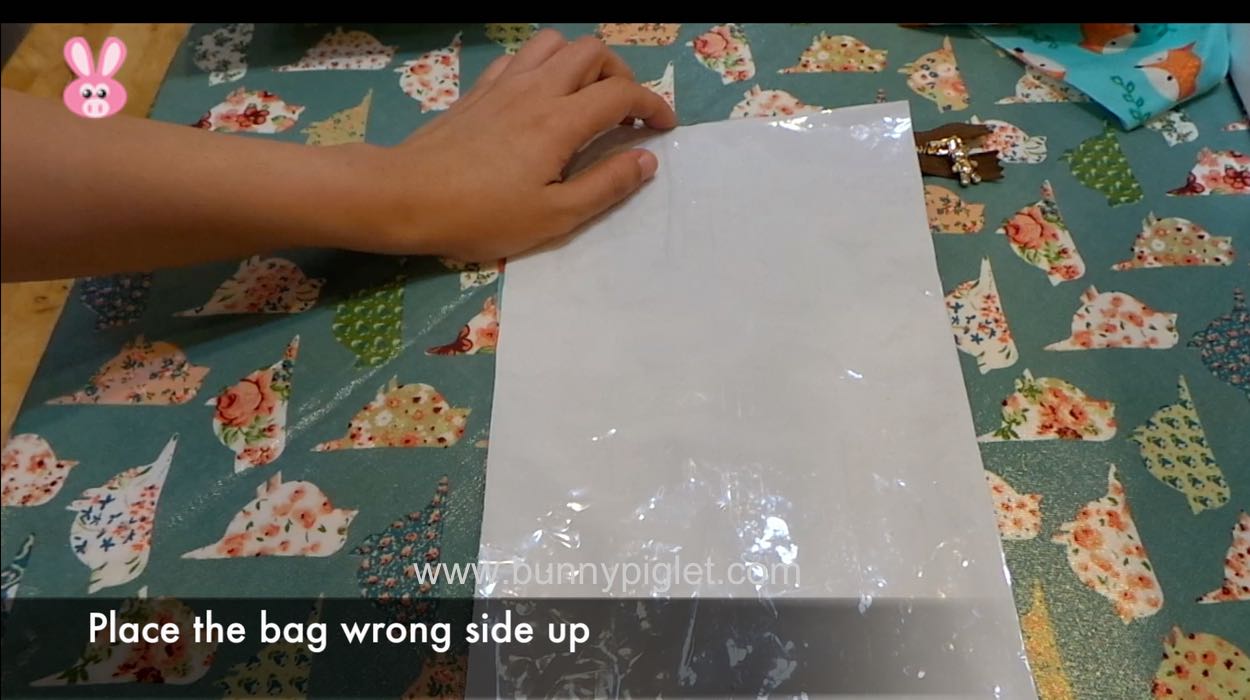
Now place the bag front panel with the wrong side up. Make sure the top part is at the zipper.
Step 8
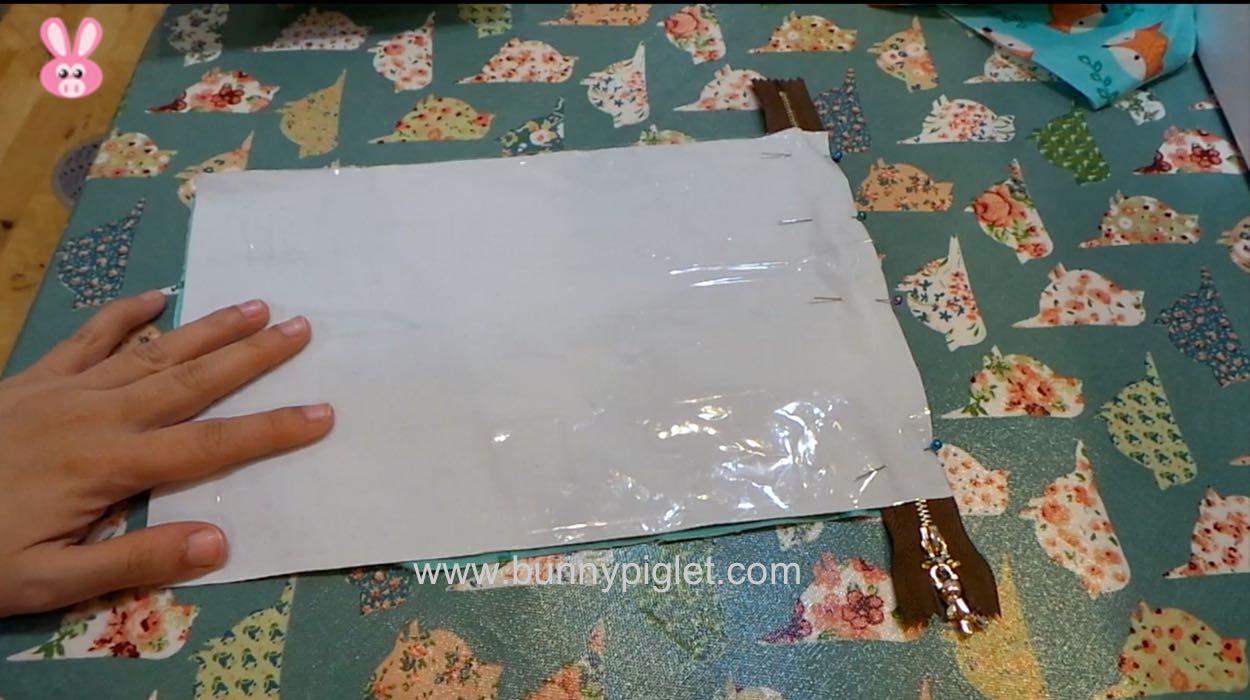
Pin the lining, zipper and bag front panel together. Make sure they are aligned properly before you start sewing.
Step 9
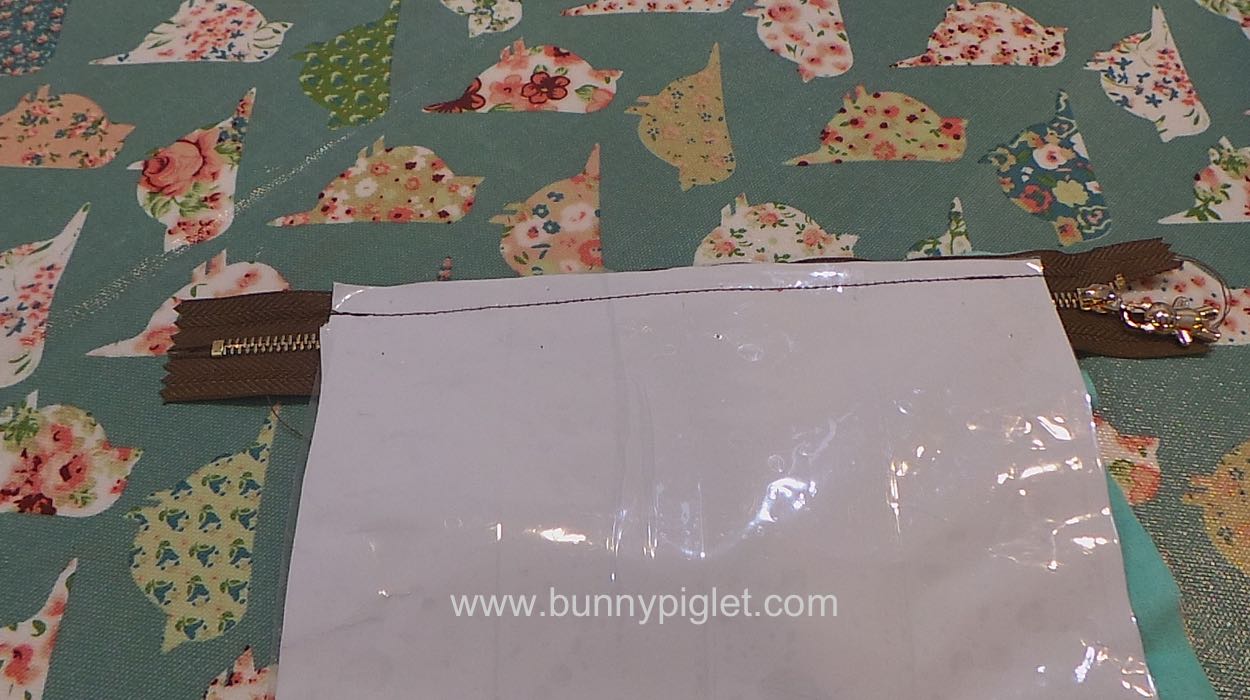
Sew across close to the zipper. Backstitch at the start and end.
Step 10
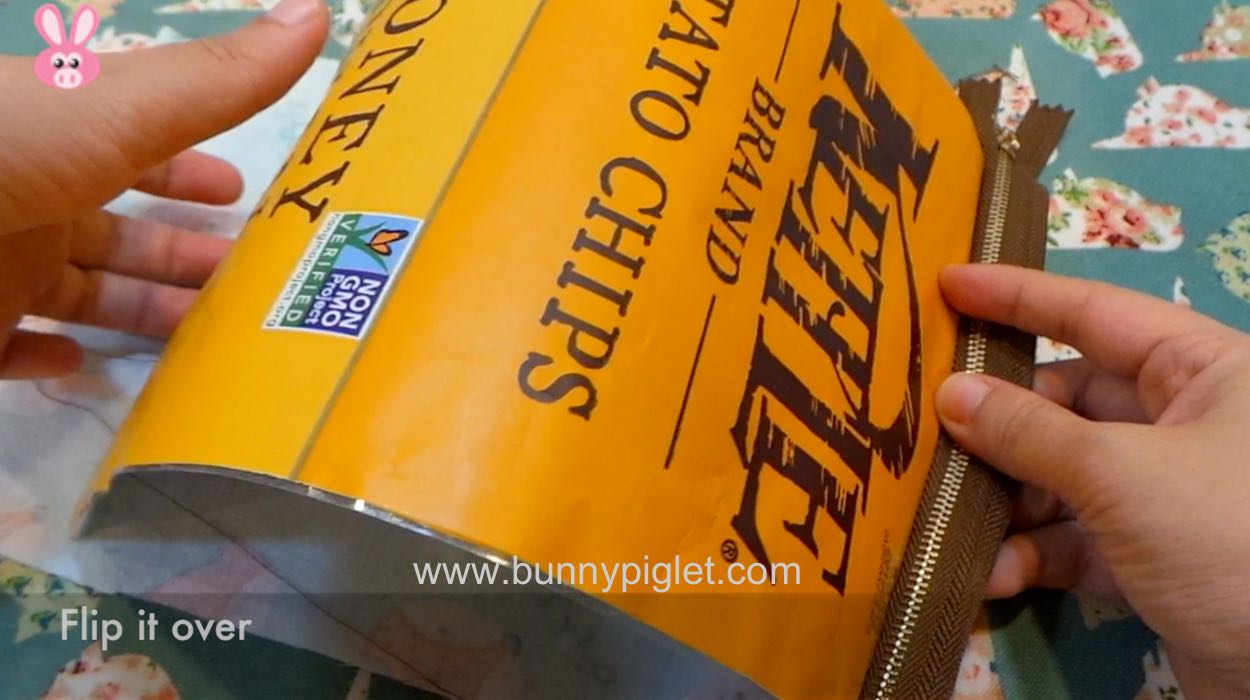
Now flip the bag over so the bag front panel is facing up.
Step 11
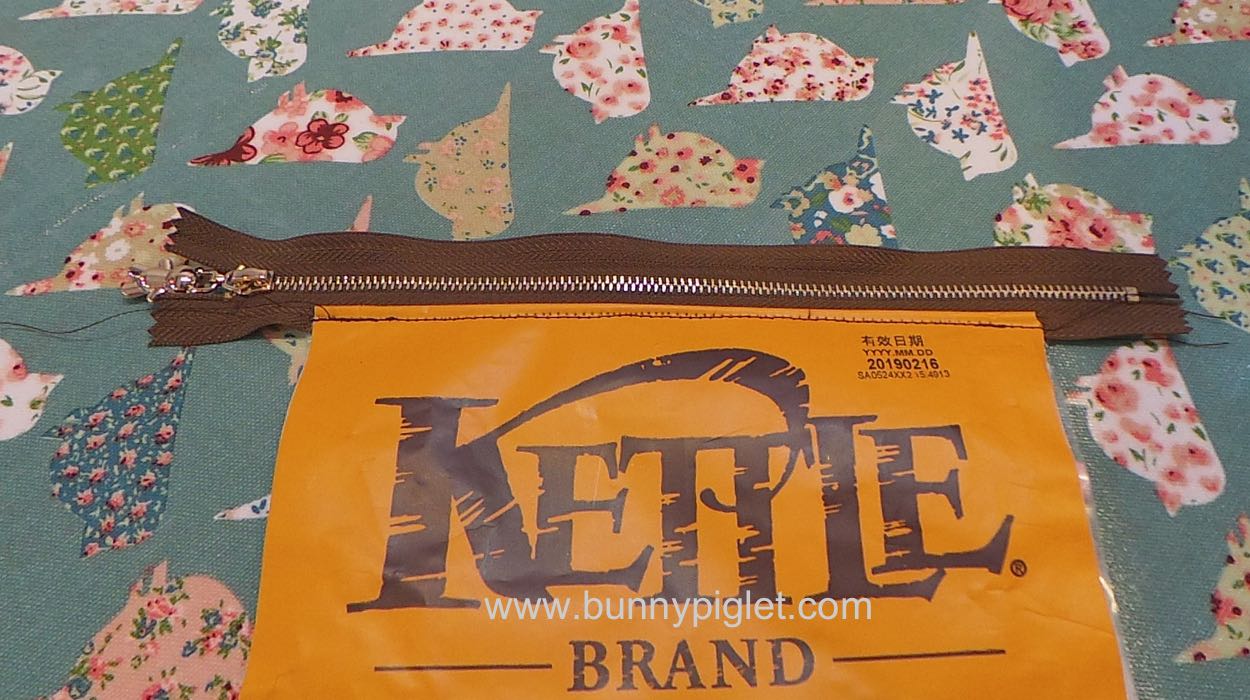
Sew top stitch across. Backstitch is not necessary here.
Step 12
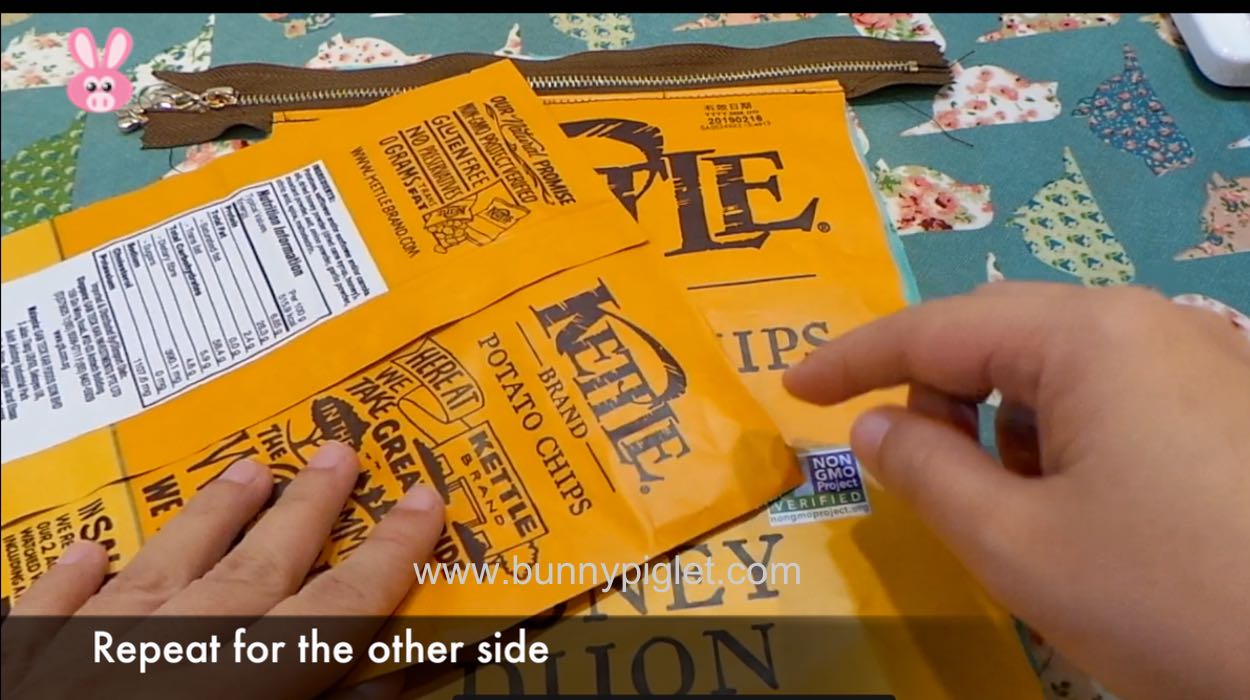
Repeat for the other side.
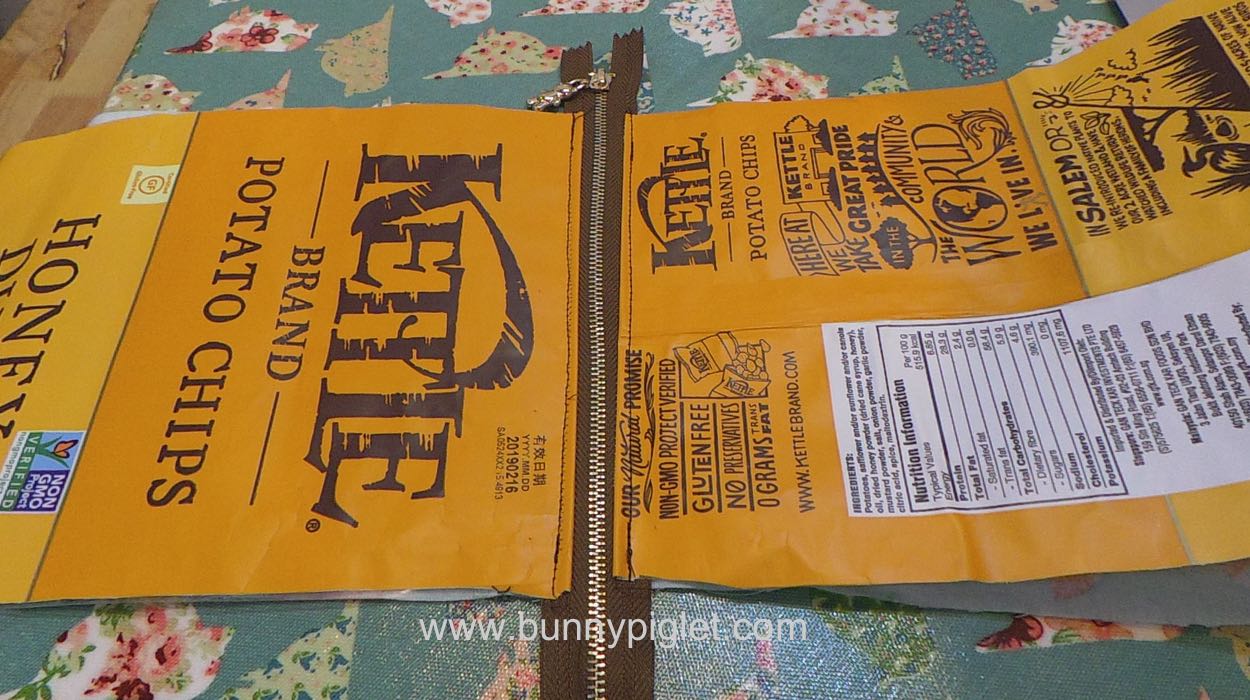
Outcome of the zipper attached to the bag.
Step 13
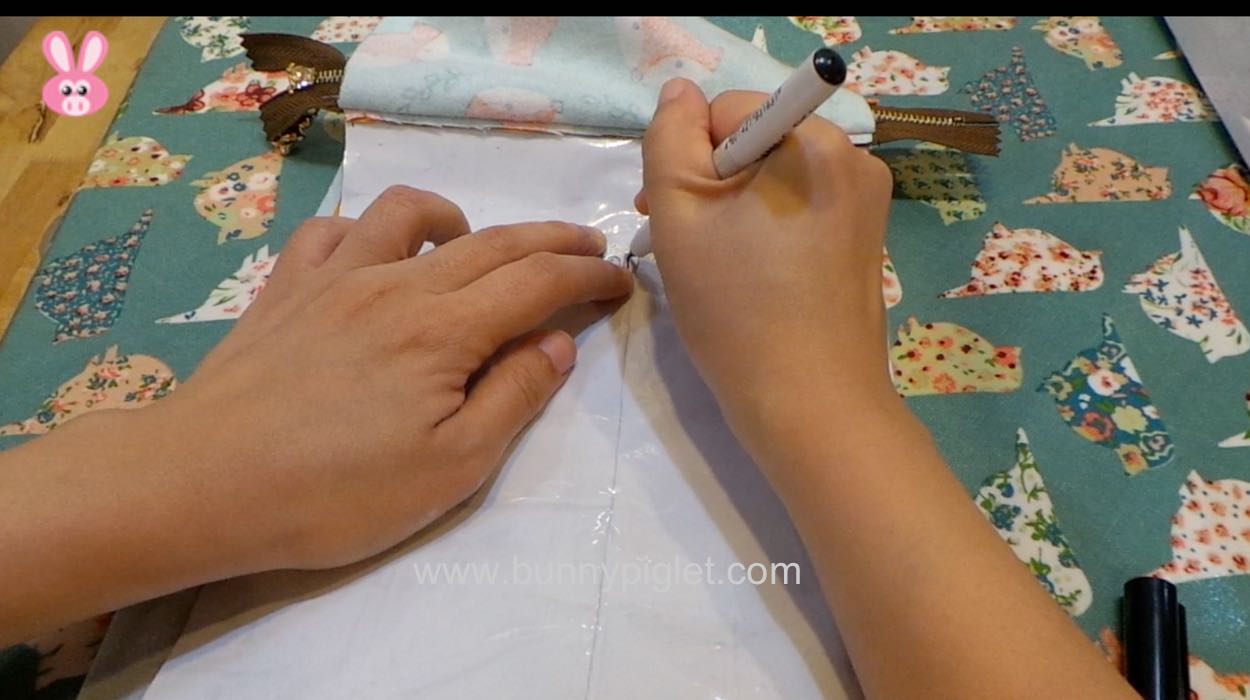
Optional step: Attach magnetic snap button. Mark out the position you want to attach using the reinforcement piece as marker. Mark out the slits to cut.
Step 14
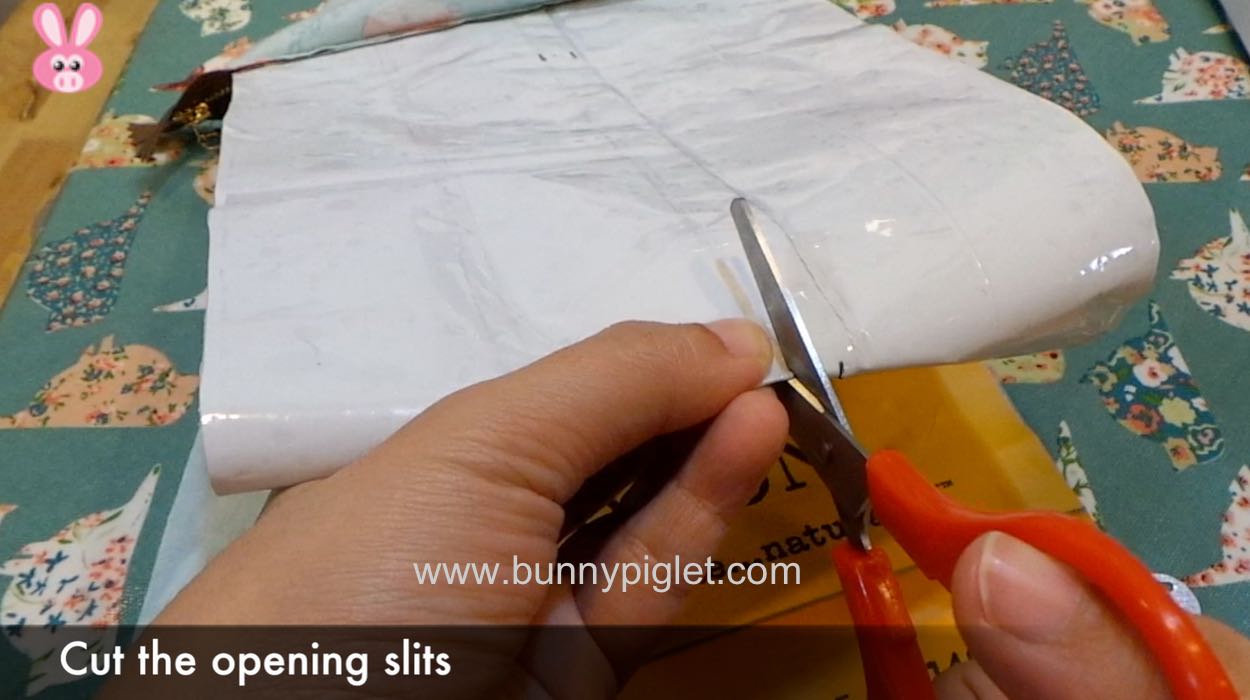
Cut the slit open. Do not cut too big.
Step 15
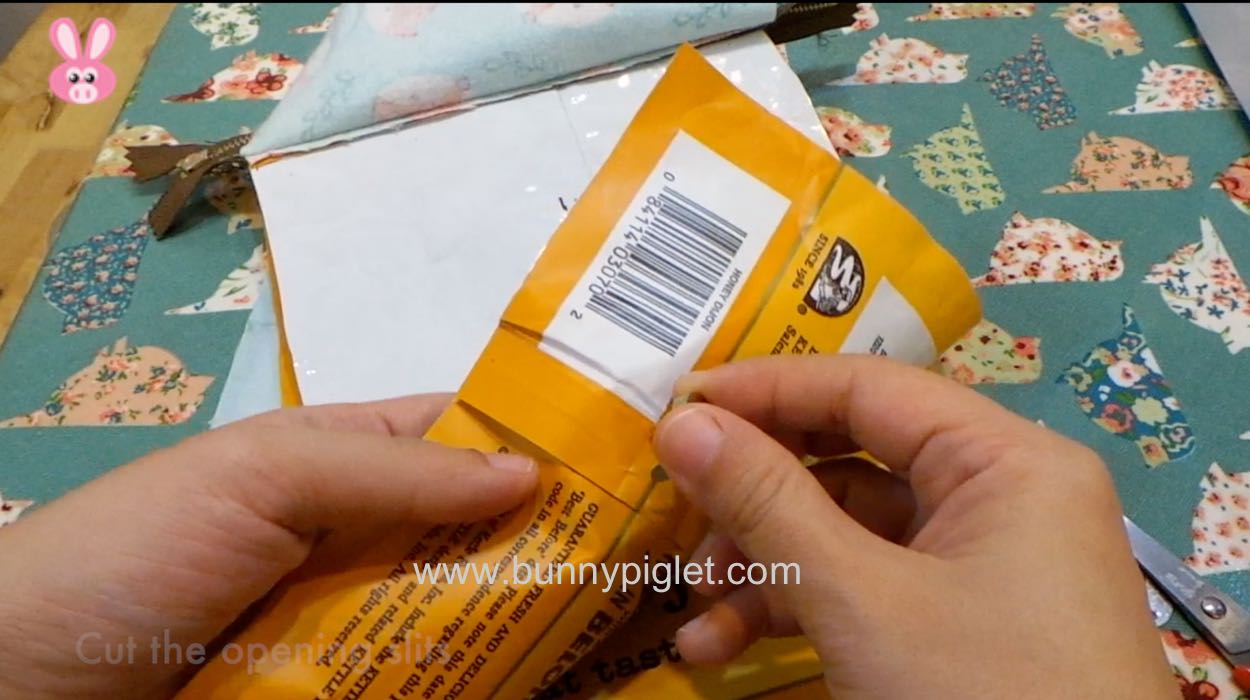
Push the 2 flaps of the magnetic snap through the slit holes.
Step 16
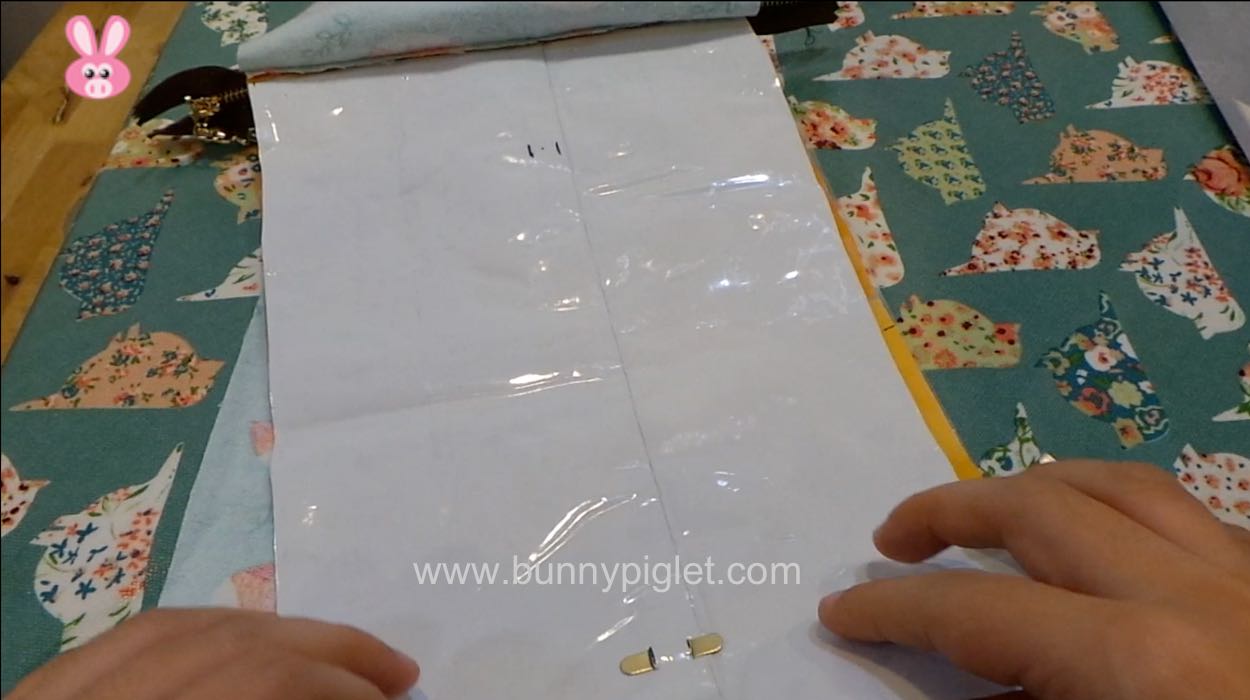
Press down the flaps to secure the magnetic snaps.
Step 17
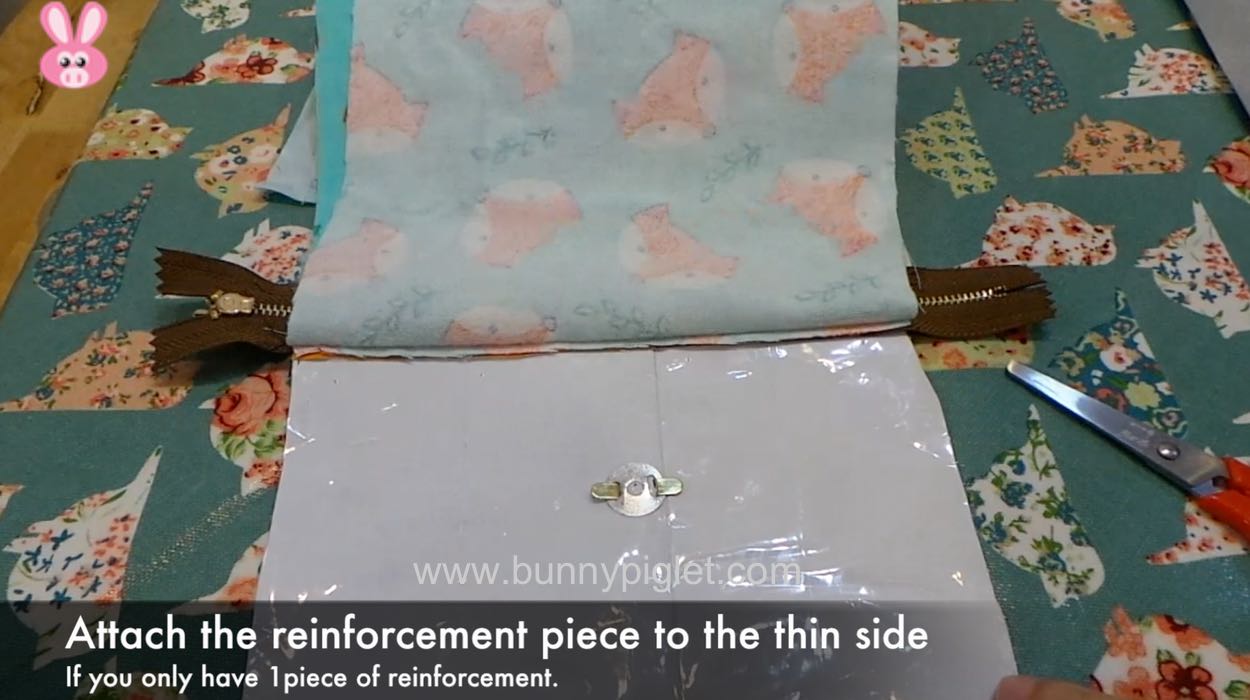
Attach the reinforcement piece to the thin side of the magnetic snap button if you only have 1 piece of reinforcement.
Step 18
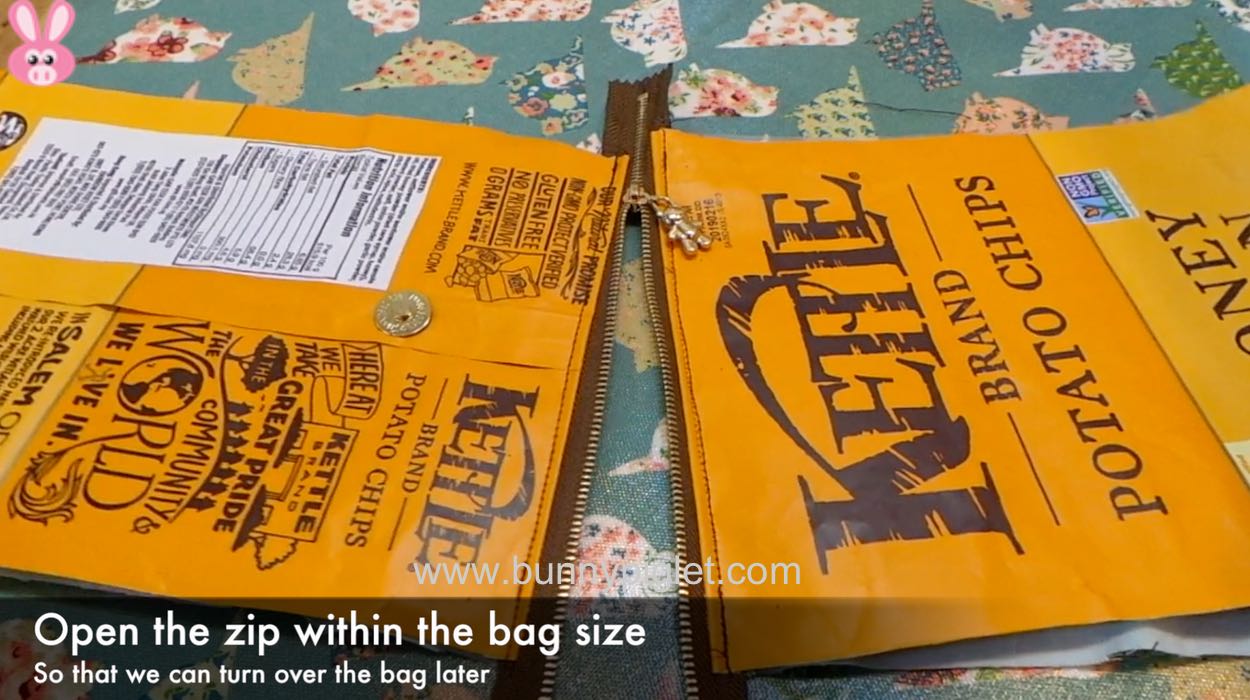
Open the zipper but make sure it is still within the bag opening. This is to allow us to flip the bag out later.
Step 19
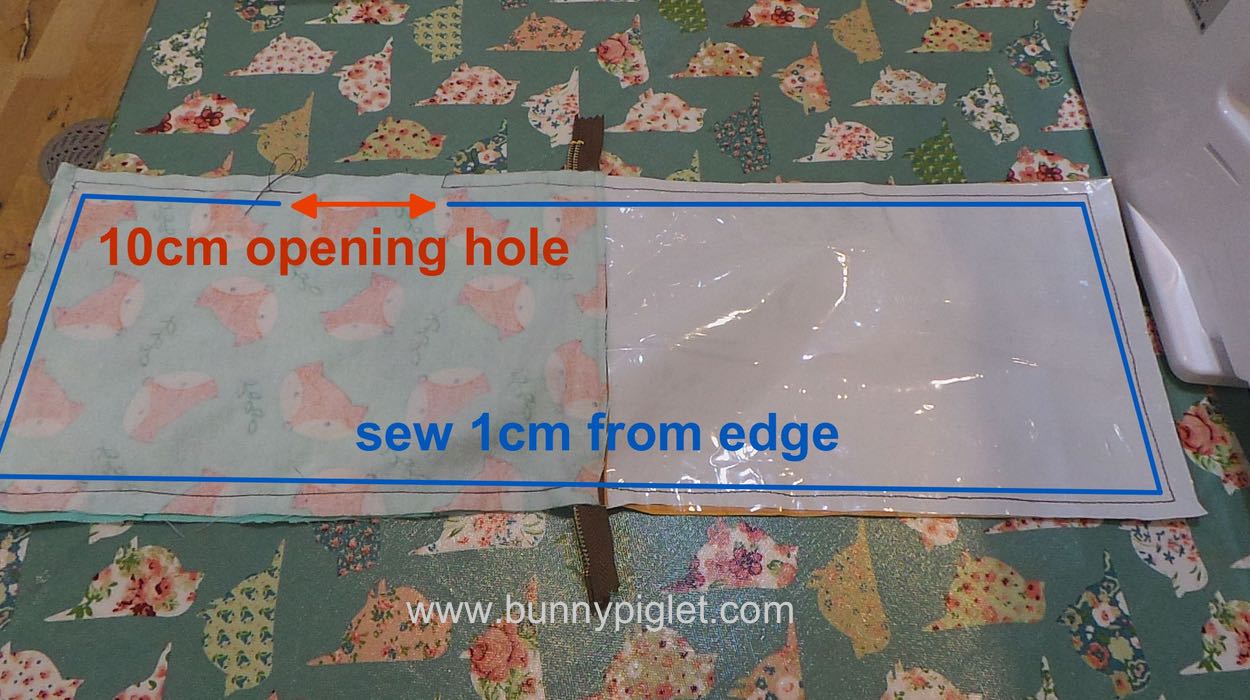
Make the chips panel right side together, and the linings right side together. Align and pin them together. Then sew 1cm from the edge leaving a 10cm opening as shown. The opening is where we will turn the bag out.
Step 20
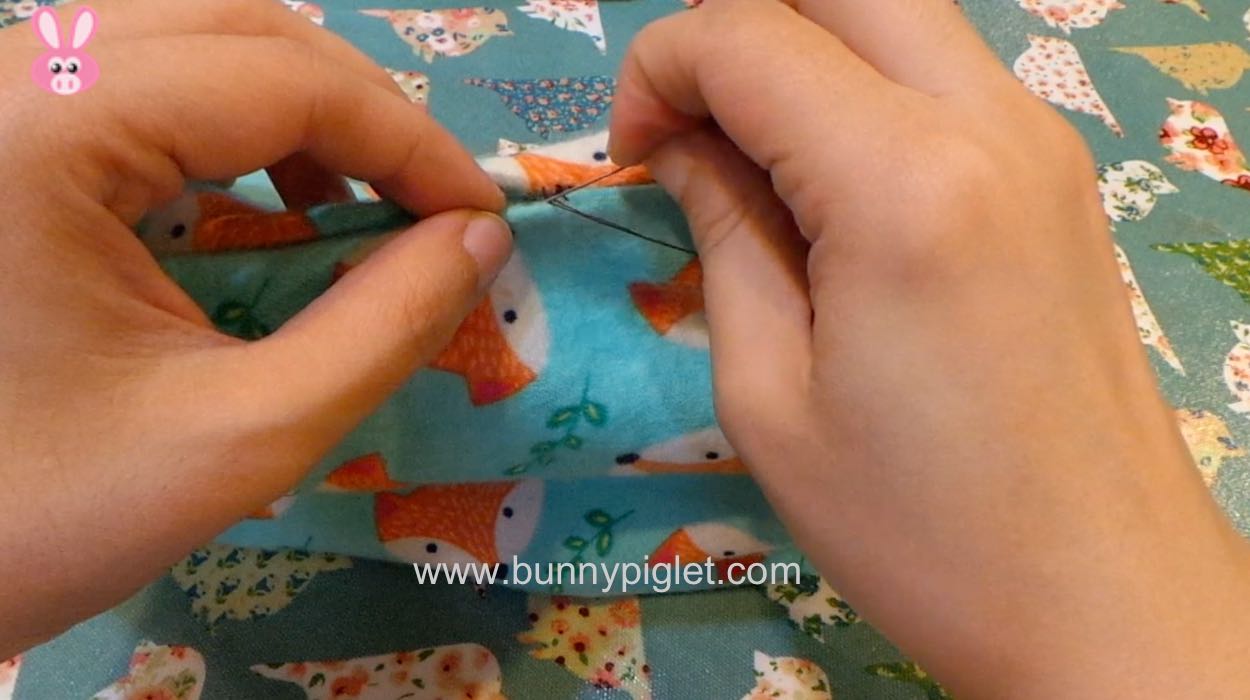
After you have turned the bag out, your lining should be facing out. Stitch up the opening using ladder stitch.
Completed
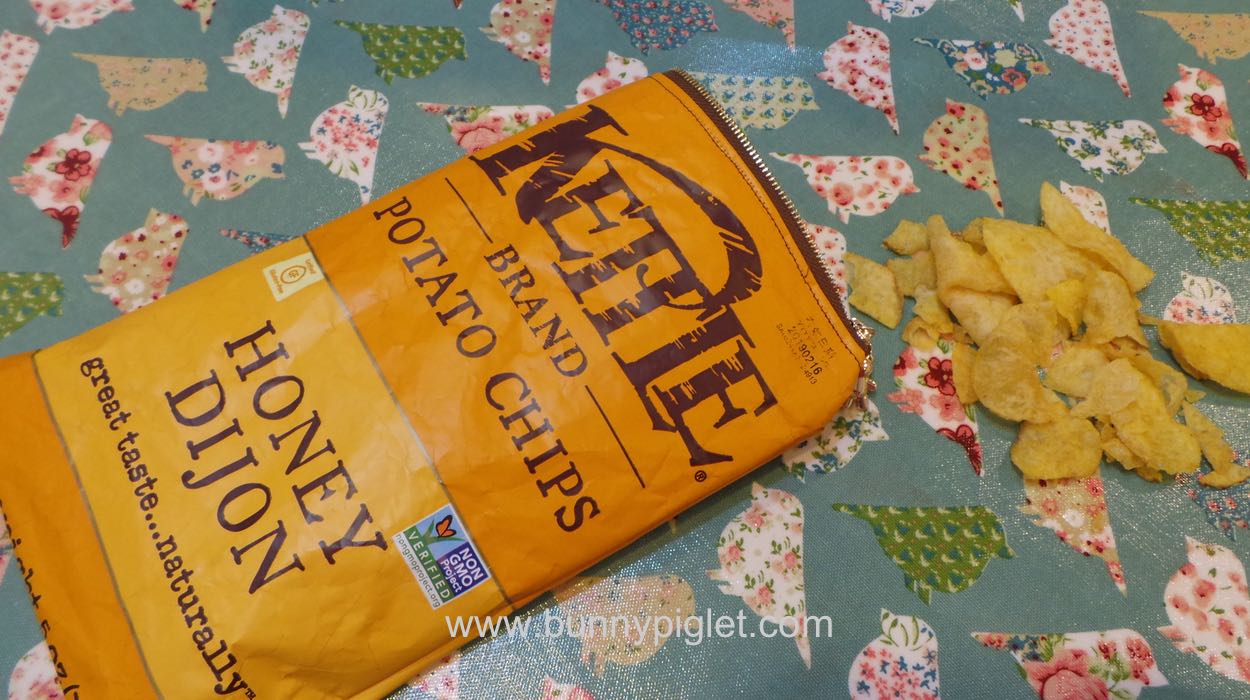
Turn the bag right side out and you are done! Hope you enjoy this project!
*tip: if you are using metal zipper like mine, and you experience difficulty opening and closing, you can try to use moisturiser on the zipper to make it run smoother. =)