Hi everyone,
I just gave birth 9 months ago and being a first time mum is overwhelming. All the difficulties in breast feeding, resulted in an exclusive pumping journey for me. I pumped diligently and had a bit of stash stored in my freezer. However, my son doesn’t like frozen breastmilk, thus my frozen stash is left lying in my freezer. I am crazy over keepsakes, I do not know how many mums are like me. I sent my breastmilk to make jewellery like charms and earrings. Then I heard or rather read on facebook that breastmilk can also be made into breastmilk soaps. So I wanted to make my own breastmilk soap too!
I have researched on recipes on breastmilk soap made totally from scratch and it involves so many things and I am clueless where to get them. I am glad I am able to find melt and pour soap base that is free of SLS. When you have a baby in this era, it’s all about chemical free, SLS free, paraben free. I wonder how i survived so long with so much chemicals. Oh well, let’s follow the crowd. Whee… Let’s start with the tutorial.
Materials

- Silicone molds (can be bought from here)
- Essential oils (I am using Young Living brand)
- Rolled oats / lavender for decorative purposes
- Breast milk (or any other milk like goat’s milk or cow’s milk)
- Toothpicks (to stir the soap)
- Melt and pour soap base (I got mine from here) (alternative)
- Melting pot (can be bought from here)
- Cup (to transfer the breast milk) *optional
Instructions
Step 1

Take a pail of room temperature water to thaw frozen breast milk . Thawing breast milk in hot water will cause the milk to have a metallic smell, thus I choose to thaw in room temperature water.
Step 2

Turn on melting pot to II which is equivalent to 60degC in order to melt the soap base. The melting time takes about 10mins.
Step 3
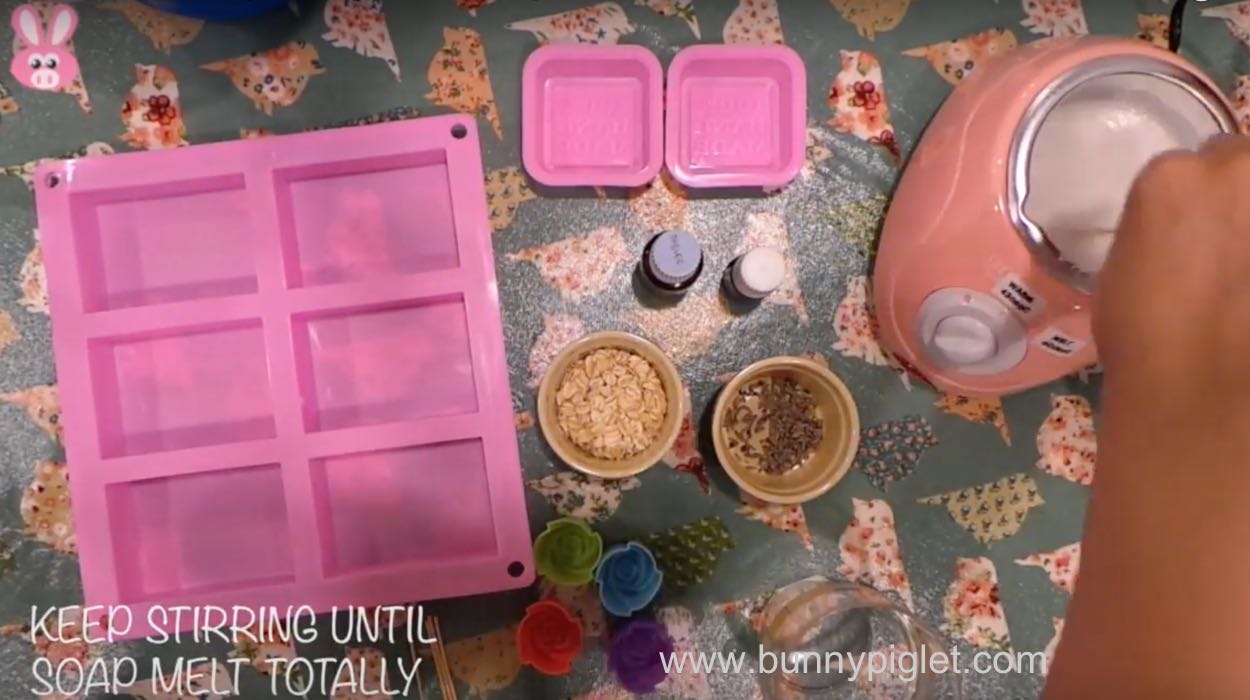
Keep stirring the soap base until it melts completely.
Step 4
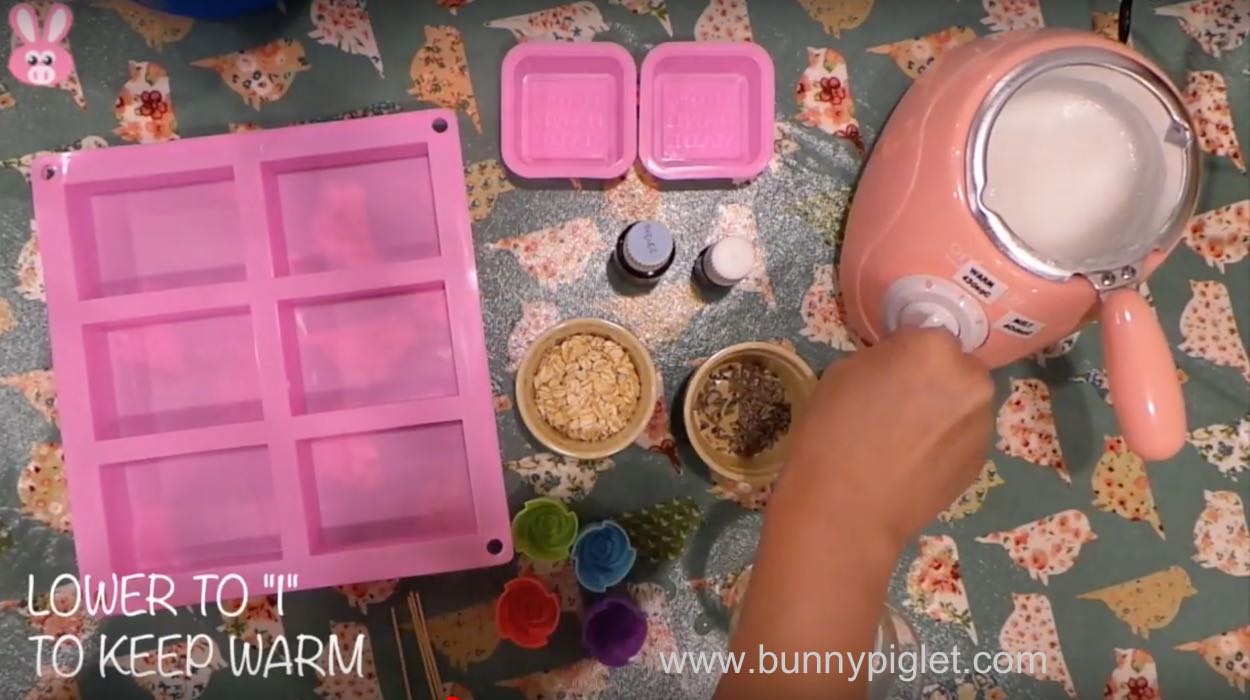
Lower the melting pot to I which is approximately 40degC to keep warm. As all mummies know , breast milk will retain its nutrients at 40degC, thus I hope my soap does not destroy the breast milk. Not that I am eating the soap though. Oh wells, it makes my mummy brain happy.
Step 5
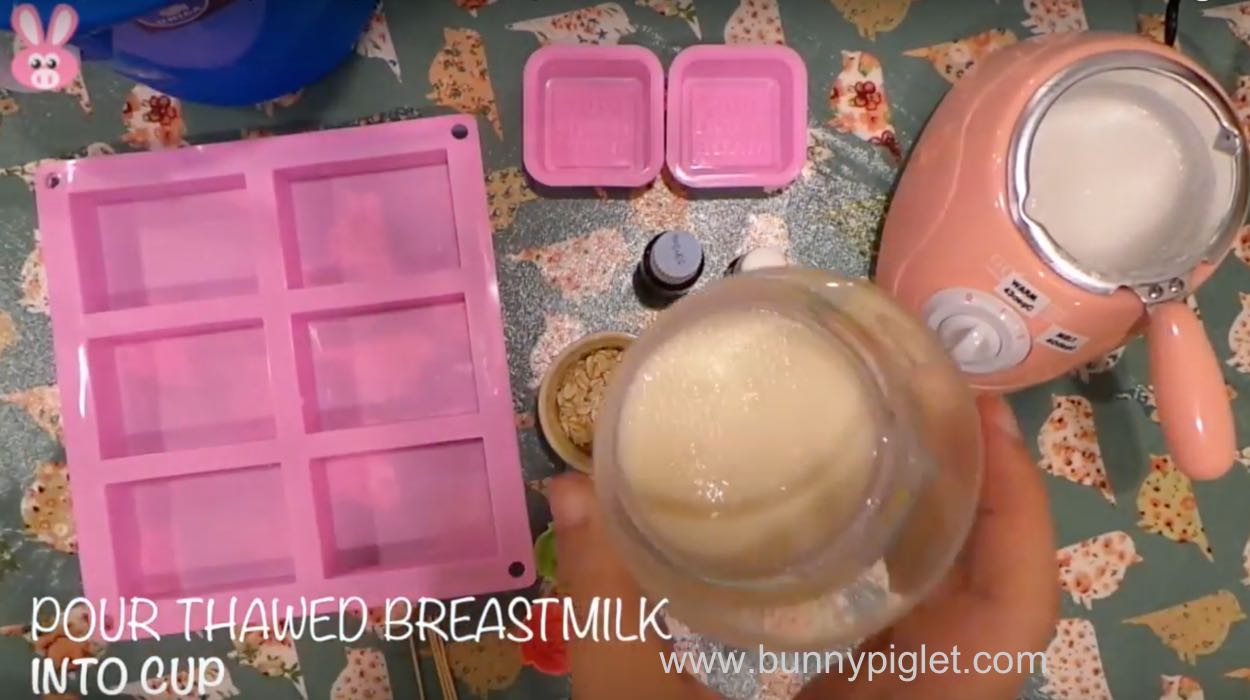
Pour thawed breast milk into cup. This step is pretty redundant, you can pour the breast milk directly into the soap base if you wish.
Step 6
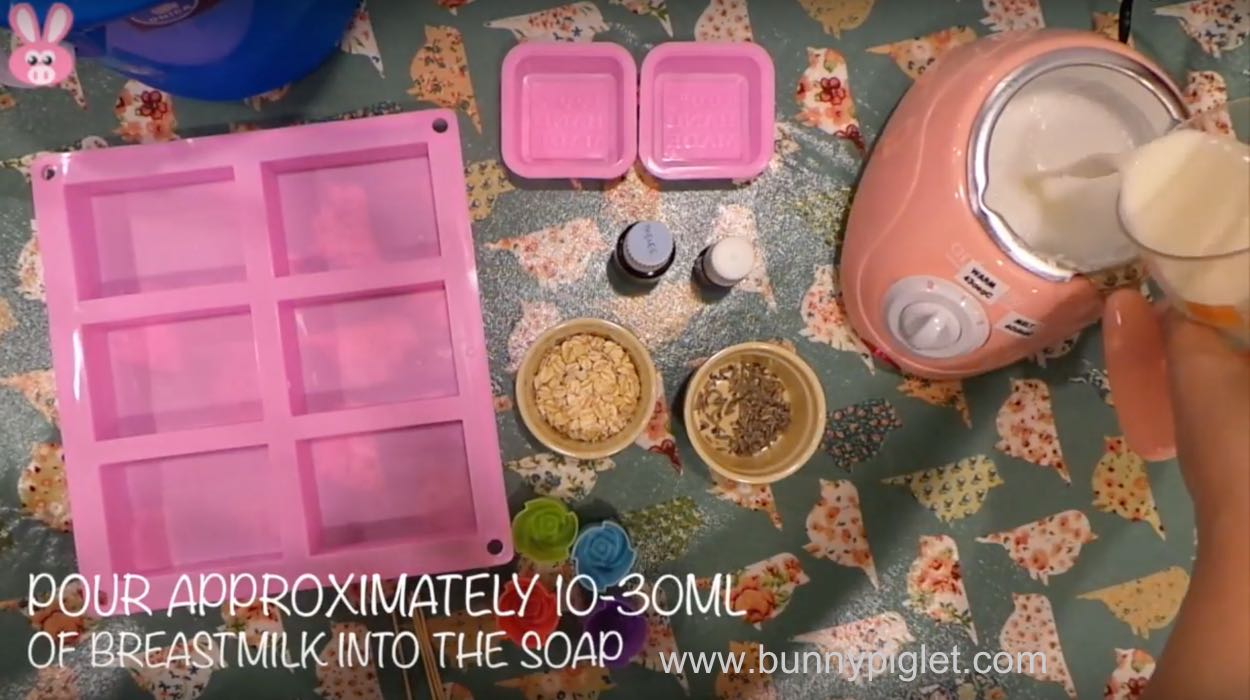
Pour approximately 10 to 30ml of breast milk into the soap base. The recommended other ingredients to be added to the soap base is 5%, which means for 100ml of soap base, you can only add 5ml of breast milk. Adding too much other ingredients will cause the soap to be unable to harden properly.
Step 7
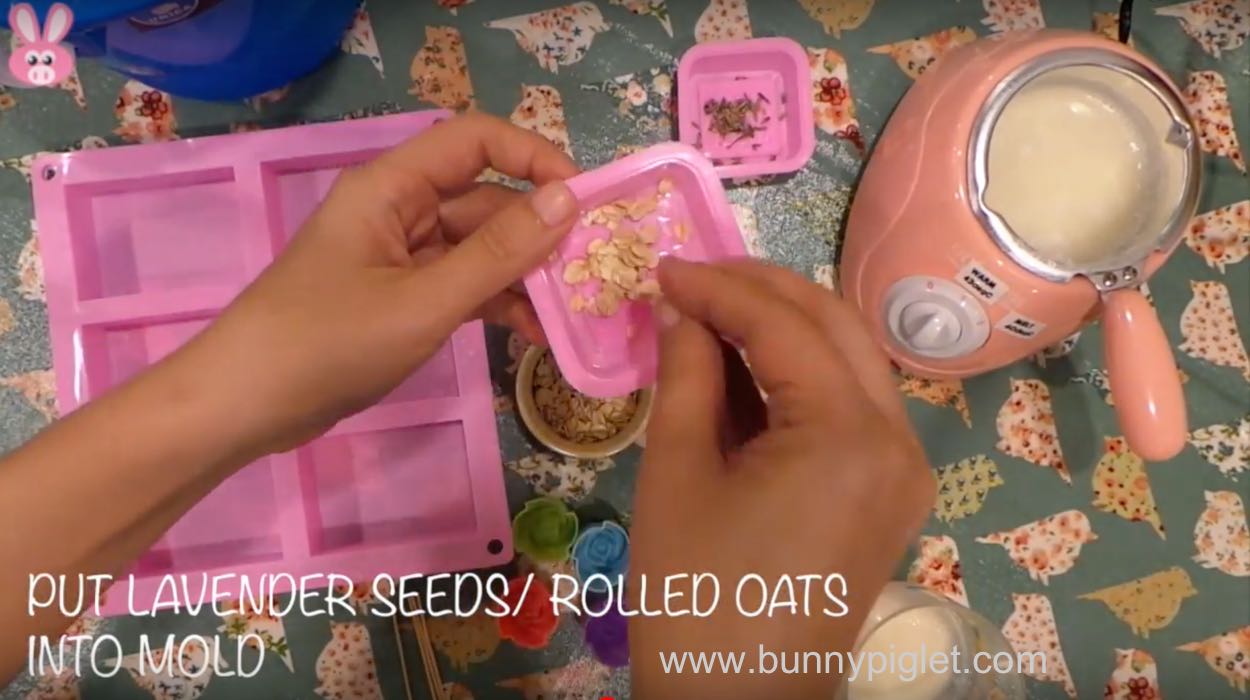
Put lavender seeds or rolled oats into silicone molds. This is for decorative purposes. It can also provide scrub effect for the soap.
Step 8
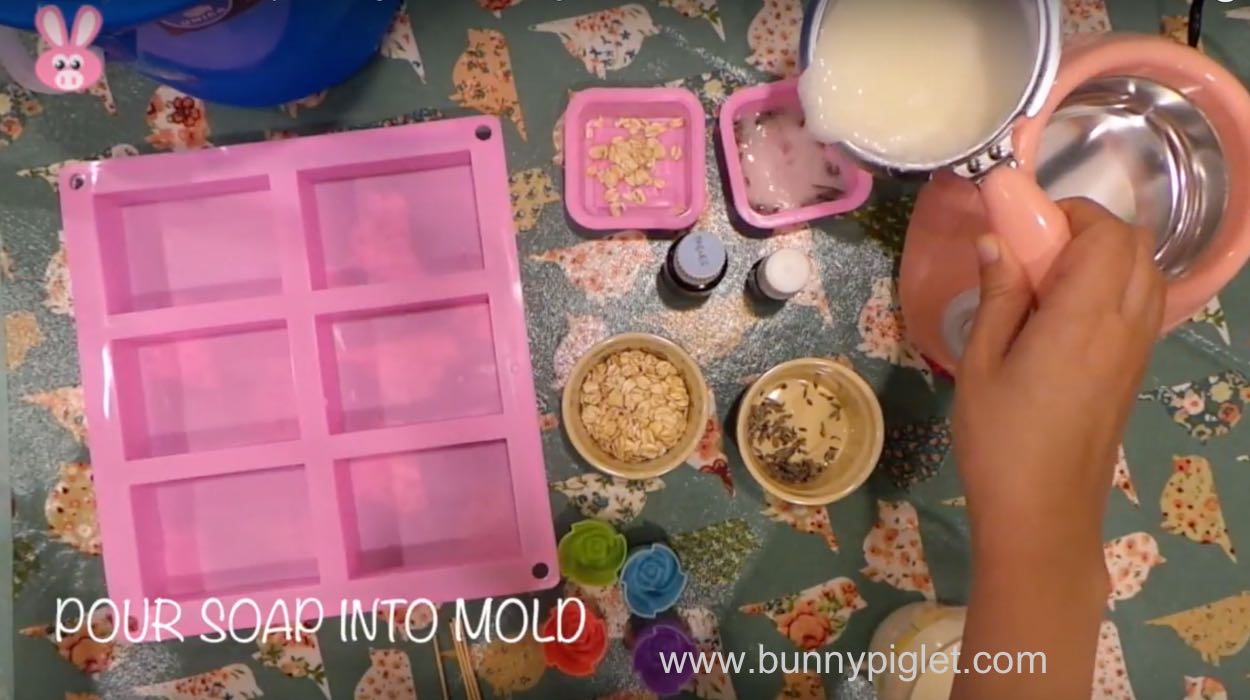
Pour the melted soap base into mold.
Step 9
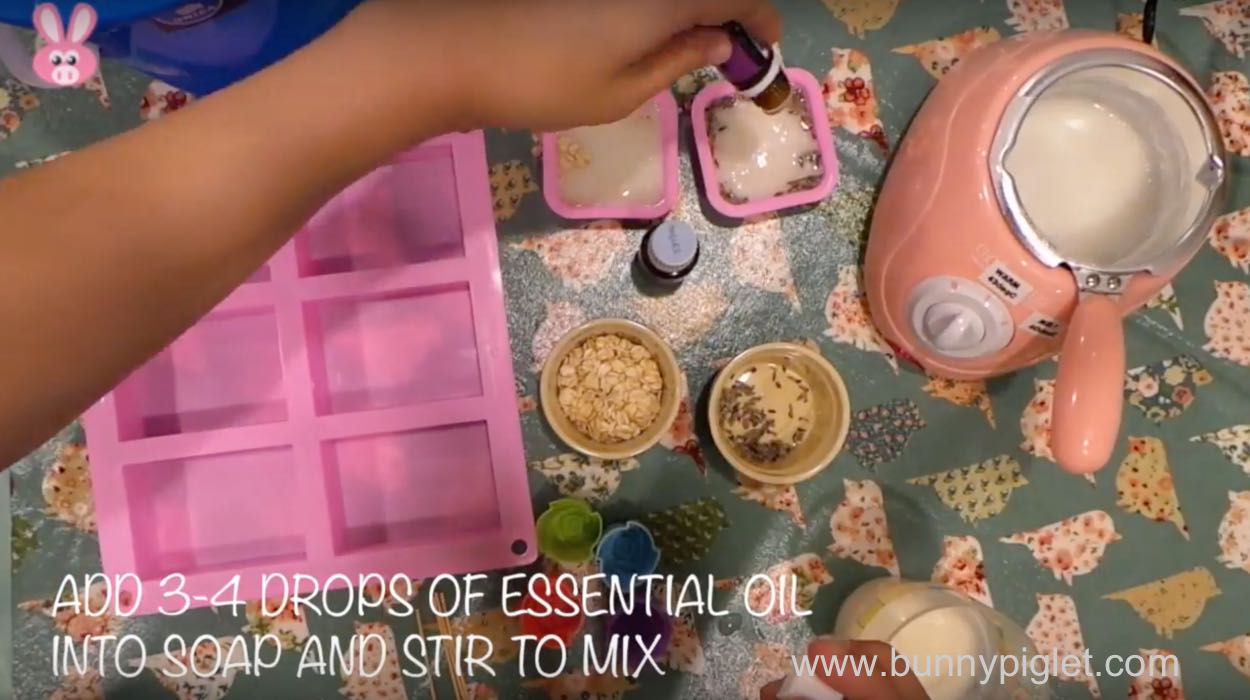
Add 3 to 4 drops of essential oil into each soap mold and stir to mix. You need to mix properly as the essential oil will tend to float on top of the soap base. Then leave it to air dry overnight.
Step 10
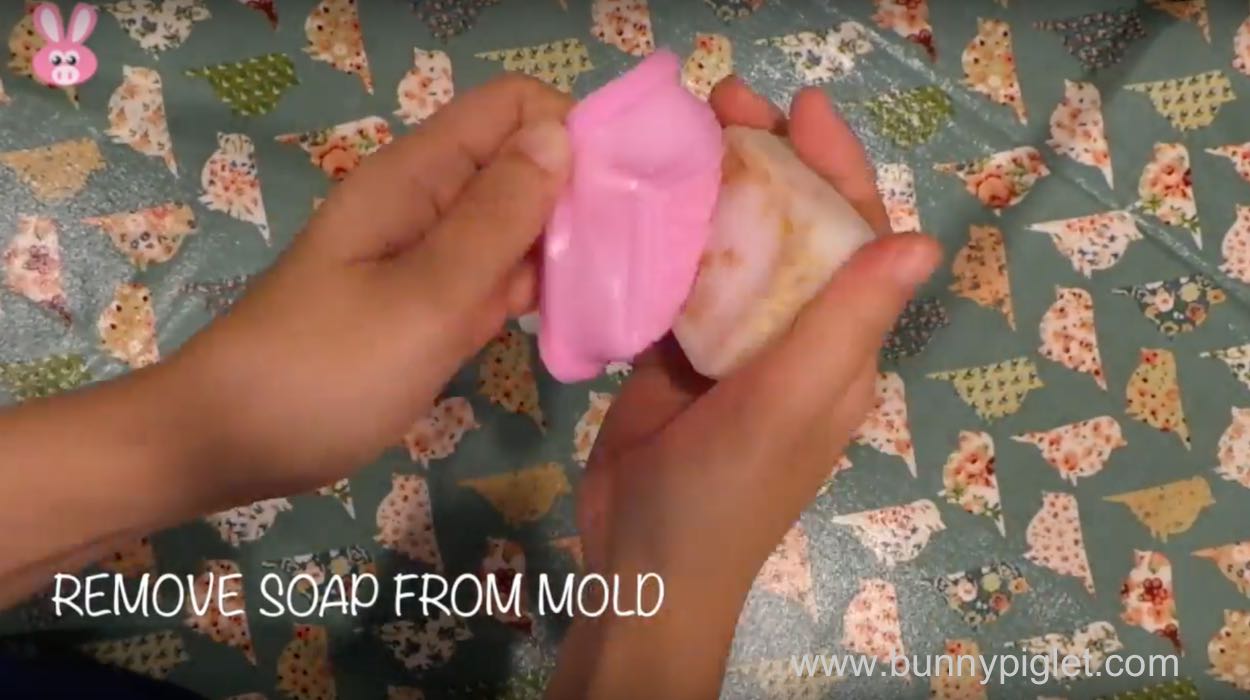
After the soap is totally hardened, you can remove the soap from the soap mold. That’s it.
Completed
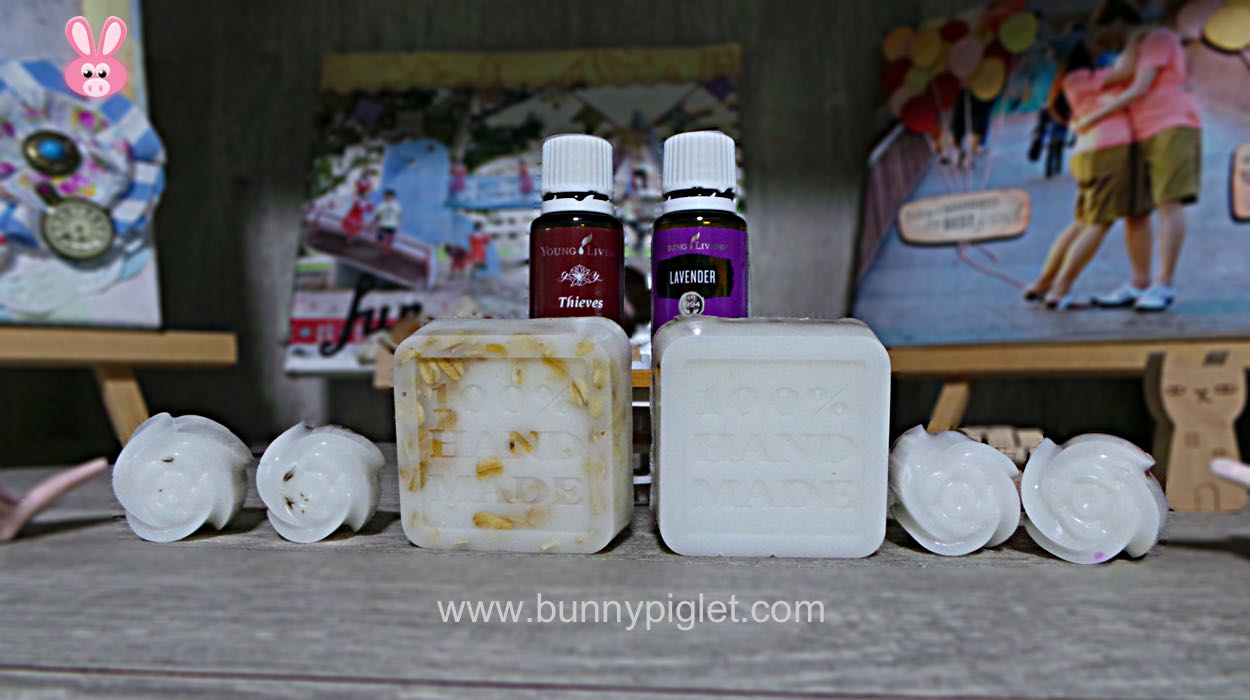
This is my completed soaps. Love how it turns out. Next is to test it out.
Testing the soap
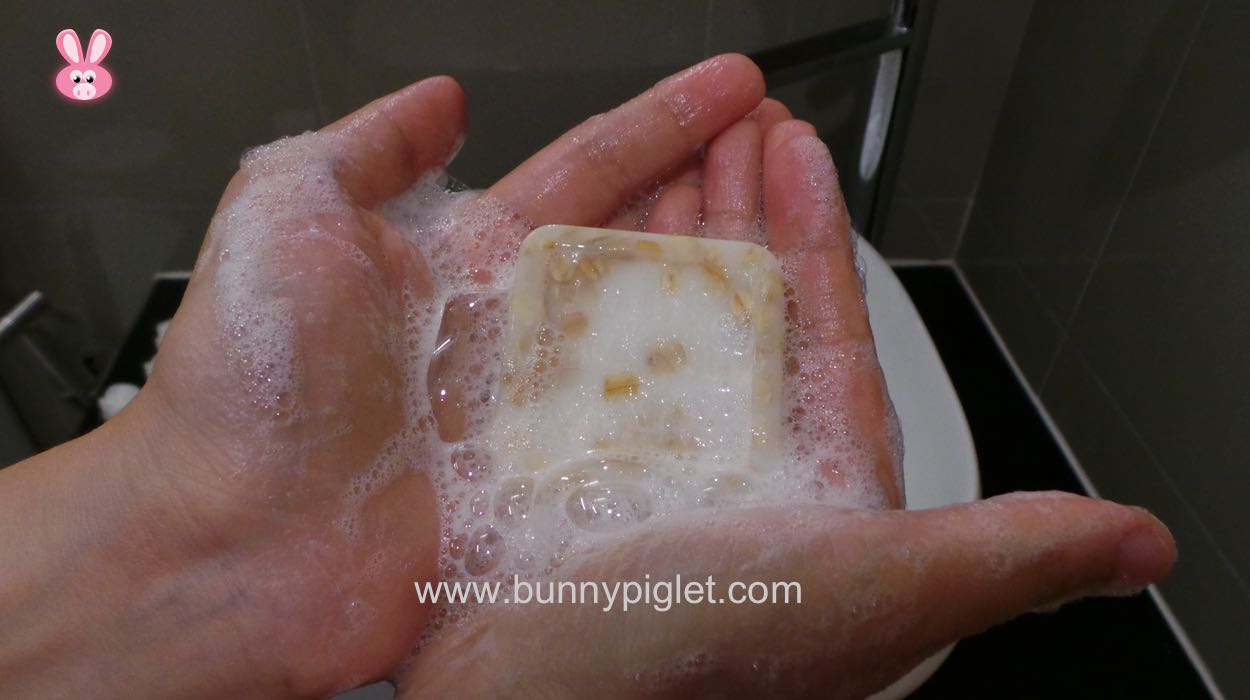
Even though I bought the SLS free soap base, there is still bubbles forming. Texture is nice and smooth. The essential oils help to keep the skin healthy.
Try to make your own soap now!