Hi guys, today I am going to do part I of Fabric Flower Pen Tutorial. I am going to show you how to make a fabric button using a button maker. I have decided to split the tutorial into 3 parts because each part can be used in different projects. Take the fabric button for example, besides making into the core of the flower, you can also use it to make into a badge, a brooch or even a hair accessory (like hair tie or hair clip). All you need to do is to attach different backings to the button. I will be doing hair accessories tutorial in the future, so do keep a lookout on my website for updates. =)
Now, let’s start with fabric button making!
Material list

- 27mm button maker (from Daiso)
- Embroidery hoop
- Scissors
- Fabric chalk
- Needle
- Embroidery thread
Instructions
Step 1

Draw the outline of the cloth needed, using a fabric chalk, according to the template provided in the button maker pack. If you do not have the template, you can draw a circle with diameter 60mm/6cm.
Step 2

Mark out the area which will be shown on the button face, using a fabric chalk. Make sure it is in the centre of the cloth that you have drawn in step 1. This is the area for you to decorate or do your embroidery design.
Step 3
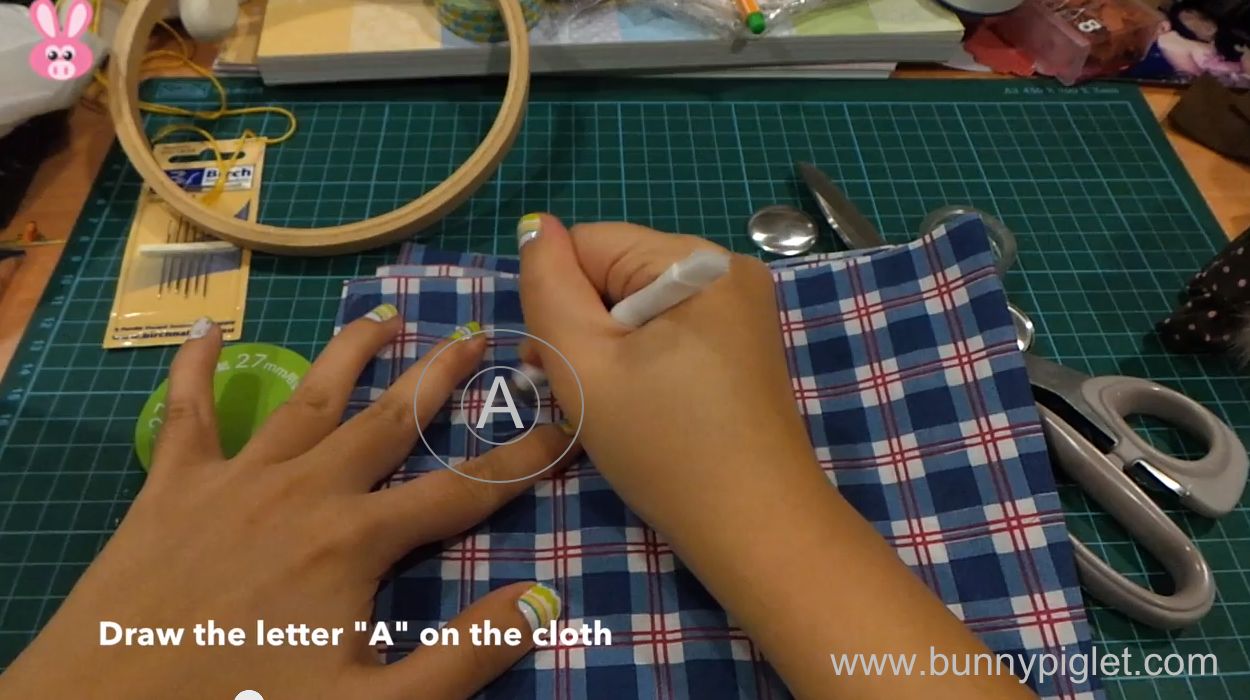
Draw the letter “A” or any other letter you want to sew inside the area you have marked out in step 2. I have highlighted the area as shown in above picture to make it clearer.
Step 4
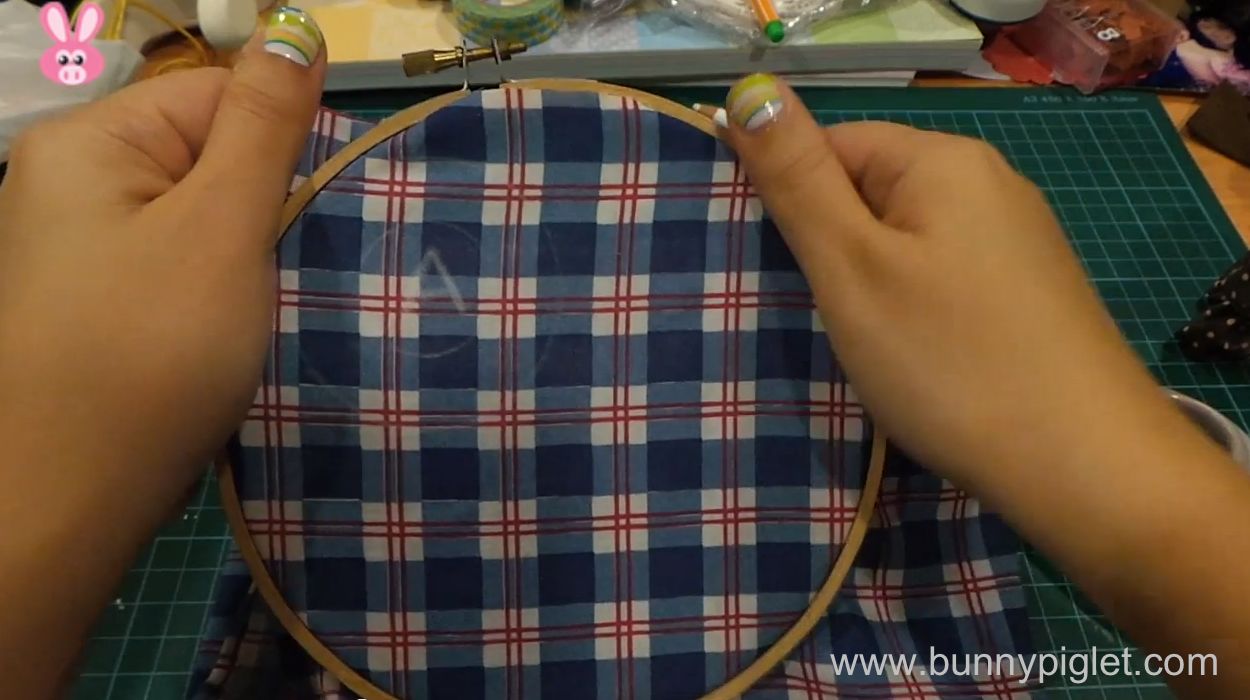
Attach the cloth onto the embroidery hoop.
Step 5
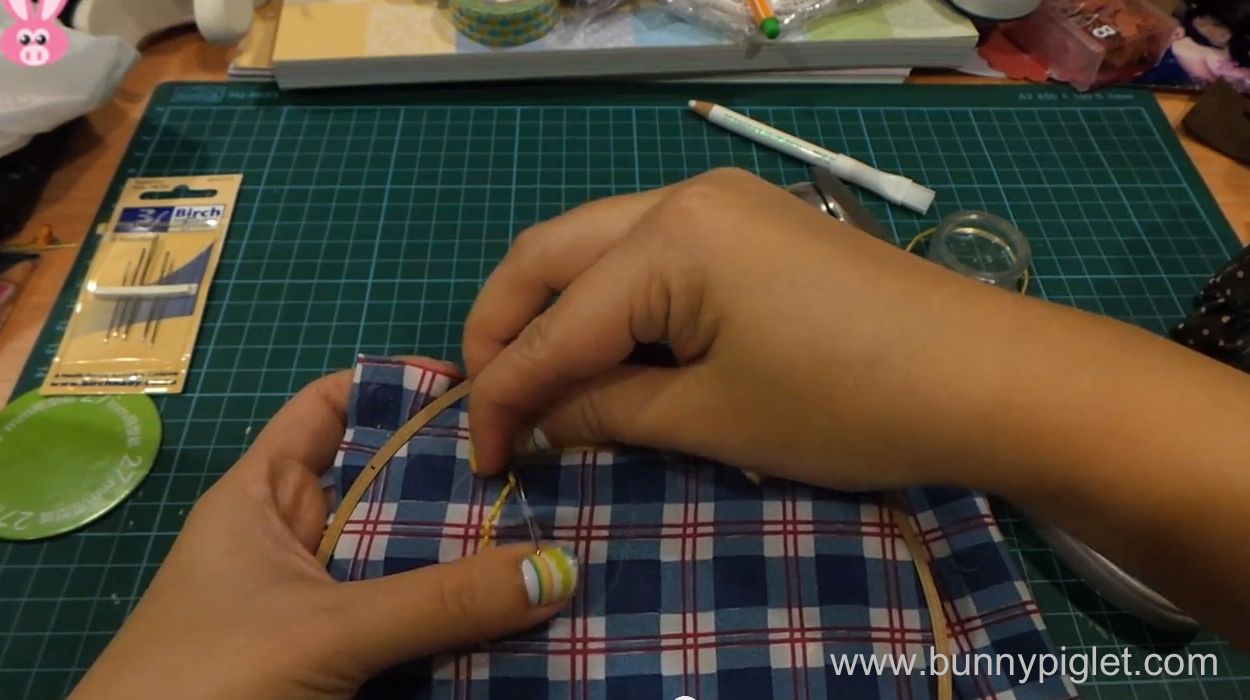
Start sewing your letter “A” using the backstitch. You can use other stitches if you like. =)
*tip: Remember to choose a contrasting colour for your thread as you do not want your letter to go unnoticed. *
Step 6
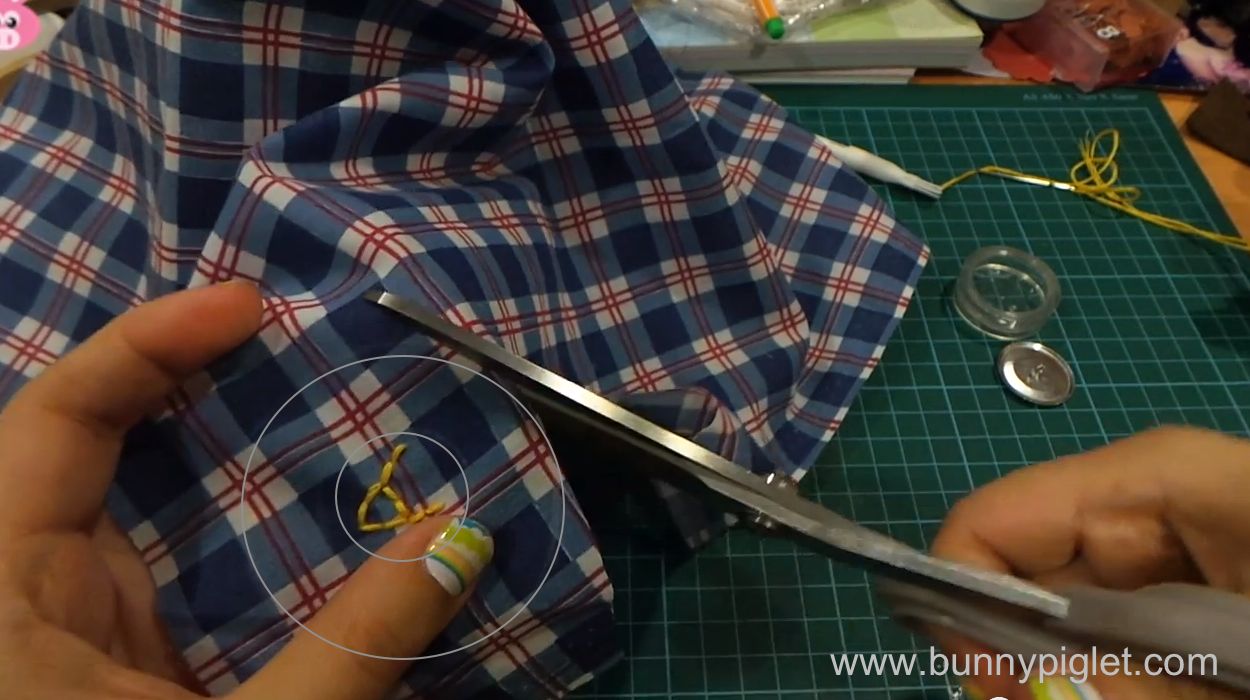
After you have completed your embroidery, make a knot at the back. Then, remove the cloth from the embroidery hoop. Now, you can cut the cloth according to the marking made in step 1, which is the outer circle. =)
Step 7
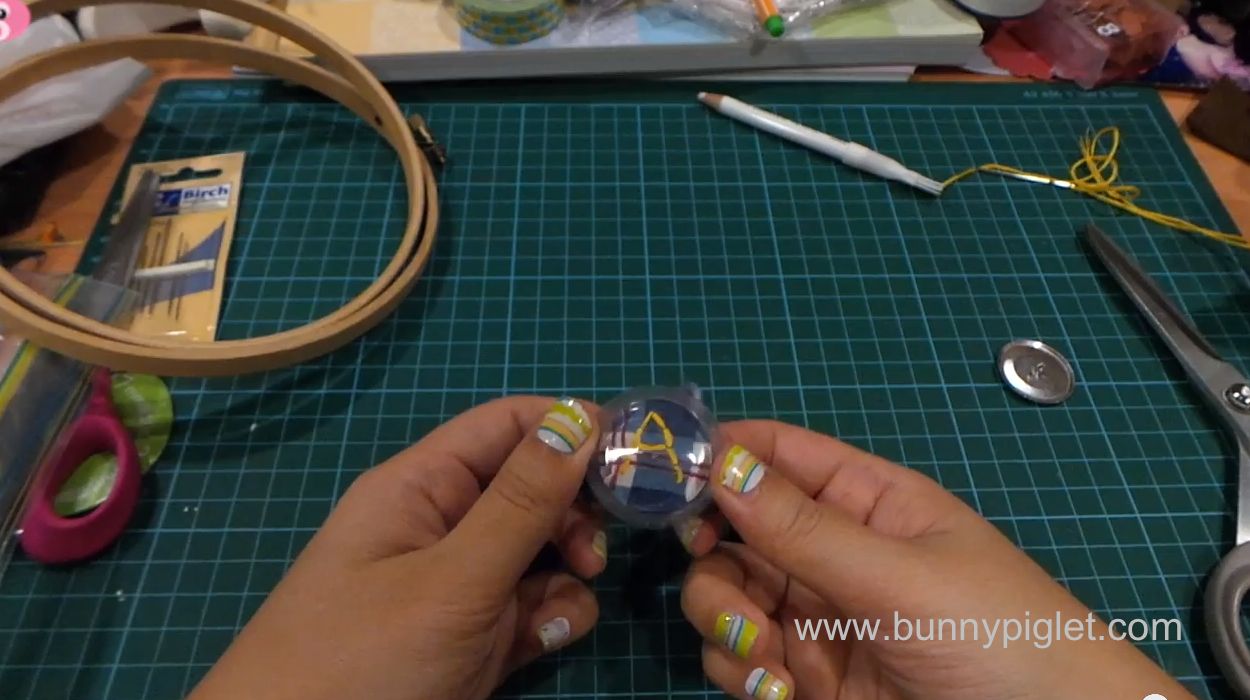
After you have cut out the cloth, align it to the button face. Then press it into the transparent button maker holder as shown above.
Step 8
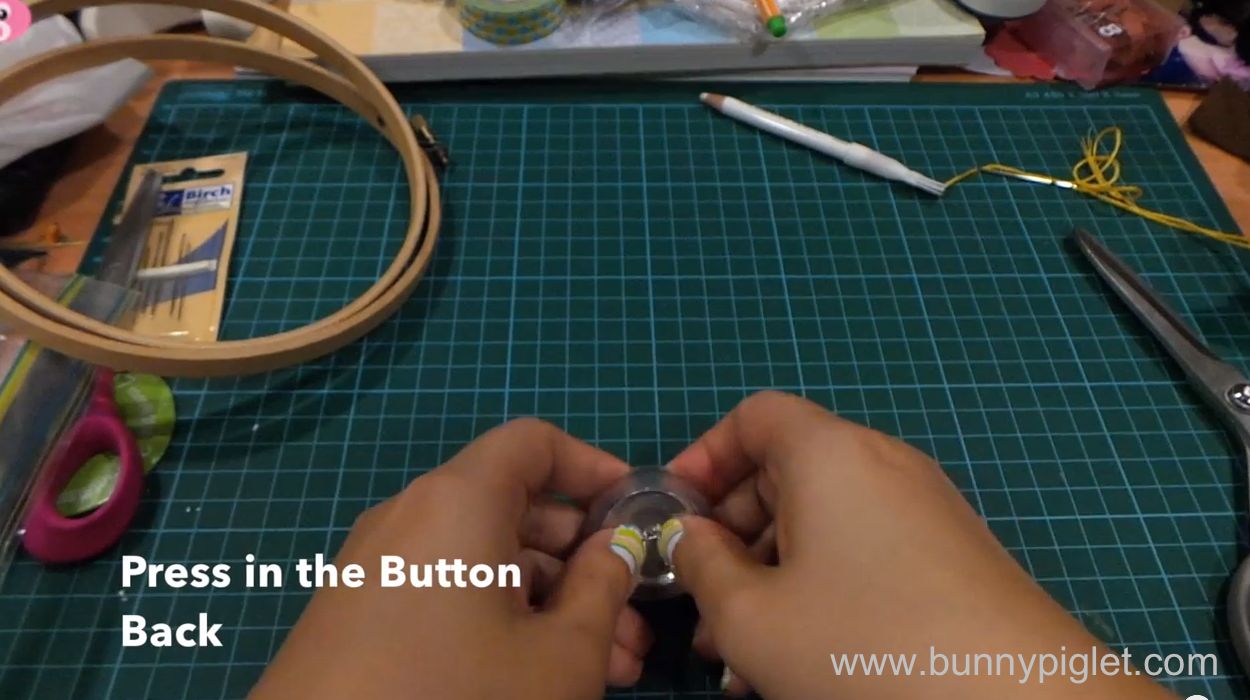
Turn the button maker over, press in all the excess cloth into the back of the button face. Then press the button back in.
Step 9
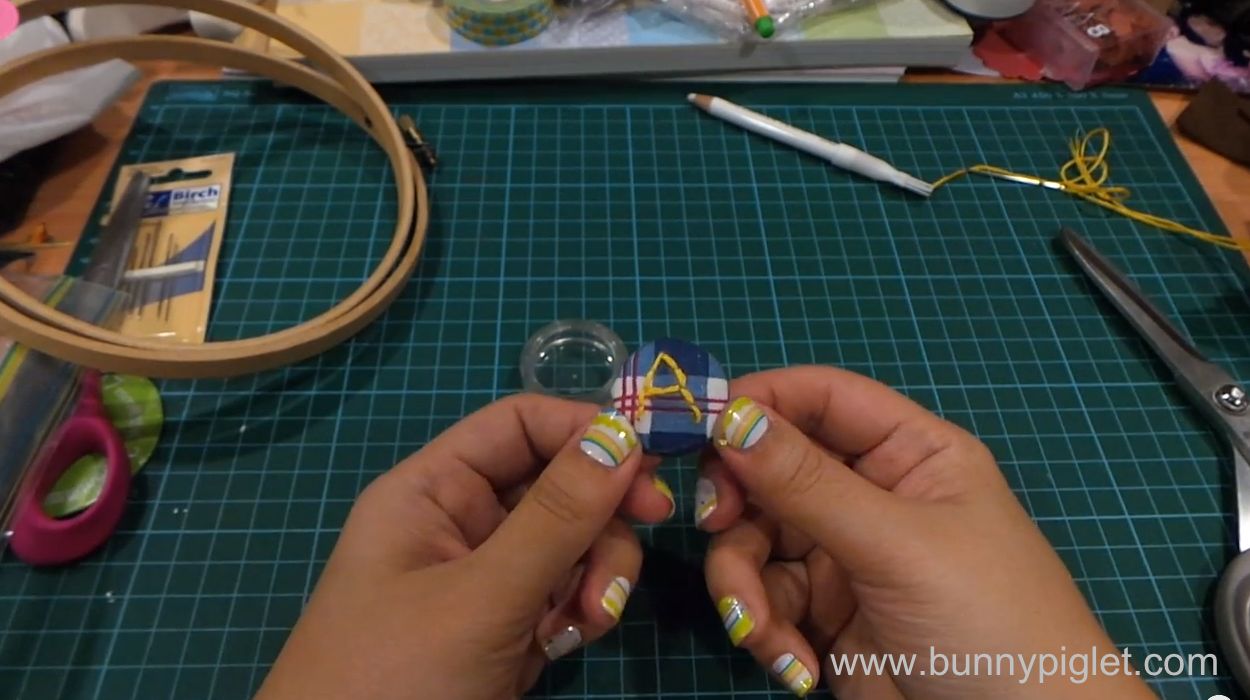
Pop out the button from the maker and you are done! ^^
