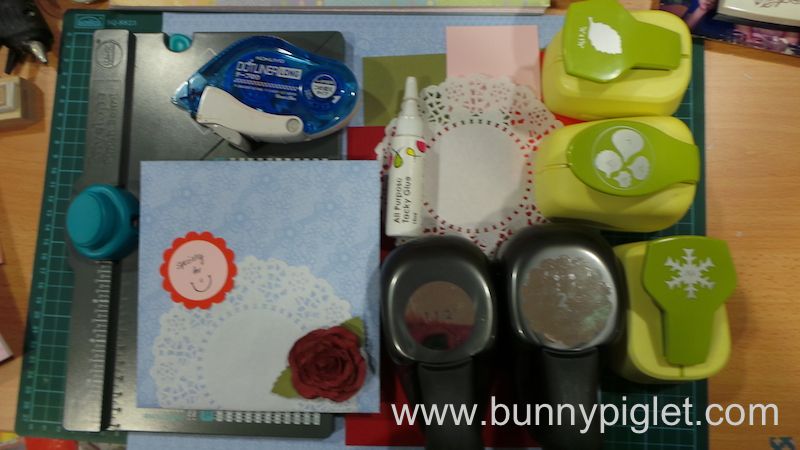
In this tutorial, I will be showing you how to make a paper garden rose using McGill card punches and also how to make an envelope using the punch board from We R Memory Keepers. Using these tools, I will make a beautiful envelope to place the valentine’s day card we made earlier in the DIY pop up card tutorial.
Things You Need
- McGill garden rose punches
- Roller tool for McGill
- Mat from McGill
- We R Memory Keepers envelope punchboard
- Medium doily
- 1-1/2″ circle punch
- 2″ flower punch
- Tacky Glue
- Dotliner sticky glue tape
- 12″ x 12″ paper for envelope
- red, green and pink colour paper
Instructions
Step 1
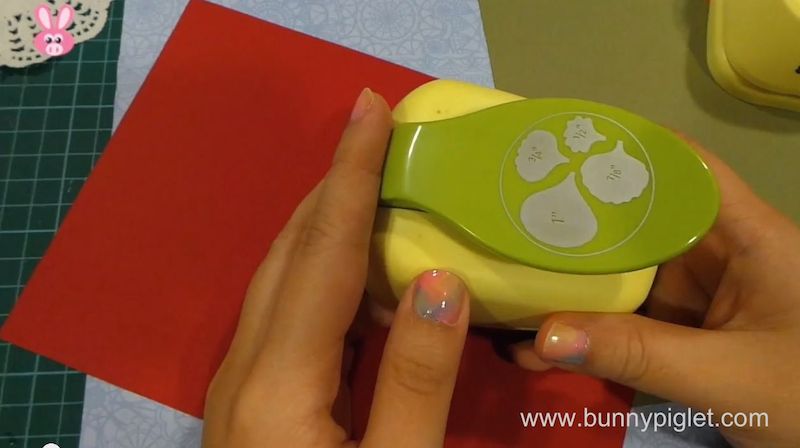
Punch out 6 sets of petals using the McGill rose petals punch.
Step 2
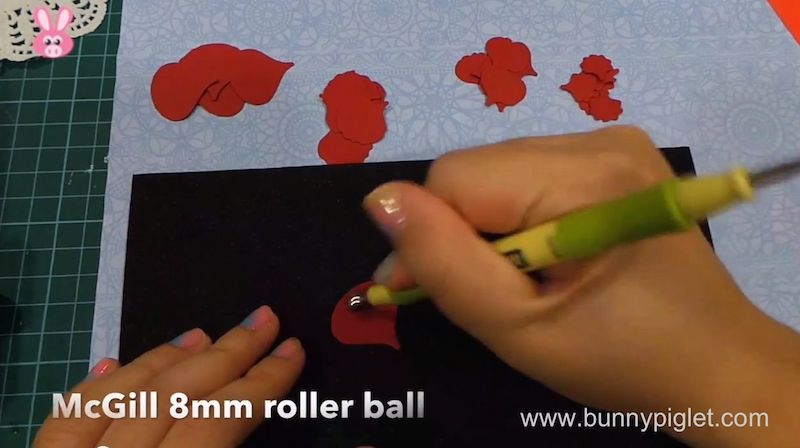
Sort your petals according to size. Take the largest petal and use the 8mm roller ball to cup all the 6 largest petals.
Step 3
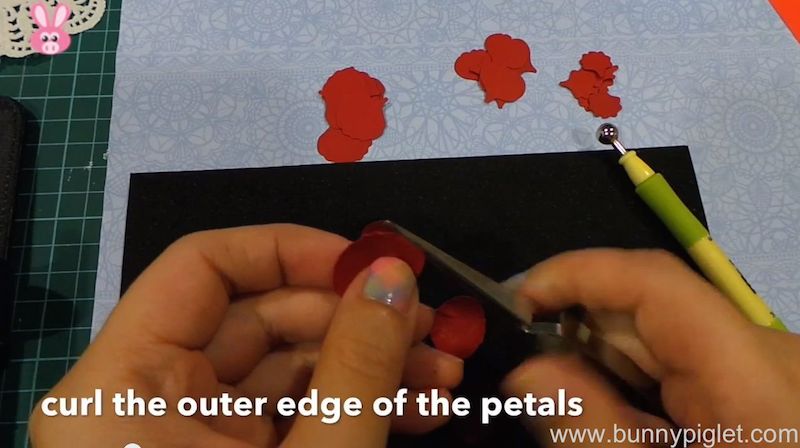
After you have cup the petals, use the tweezers and curl the edges of the petals.
Step 4
Repeat step 2 and 3 for the rest of the petals. For the 2 medium size petals, use 6mm roller ball to cup the petals. For the smallest size petal, use 5mm roller ball to cup the petals.
Step 5
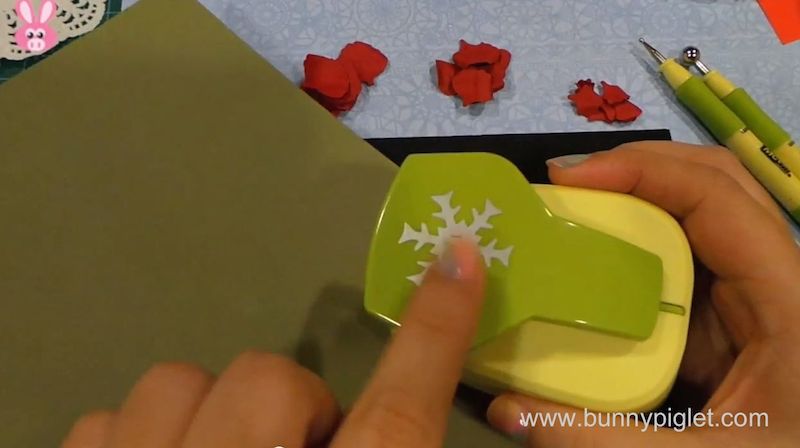
Punch out the base using snow flake punch on green colour paper.
Step 6
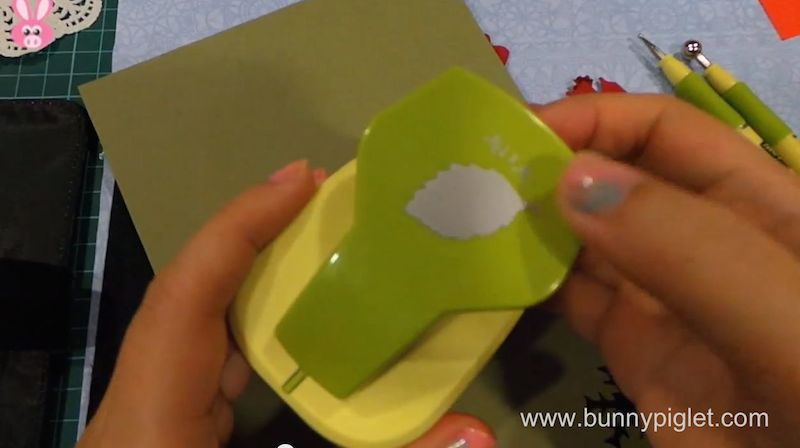
Punch out 2 leaves using the leaf punch on green colour paper.
Step 7
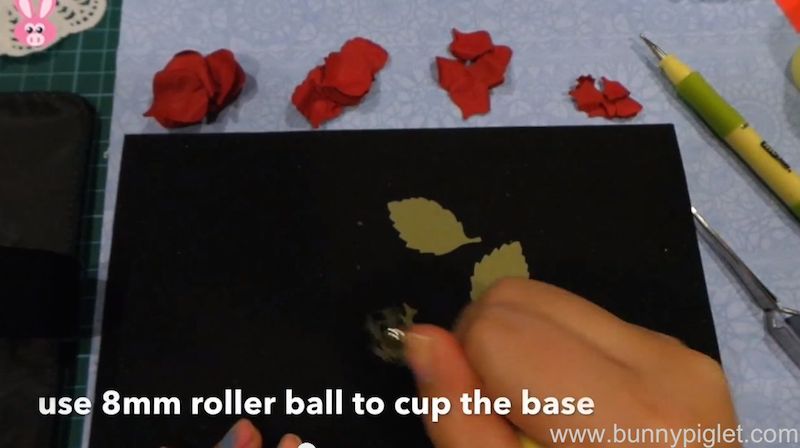
Use 8mm roller ball to cup the base as well as the leaves.
Step 8
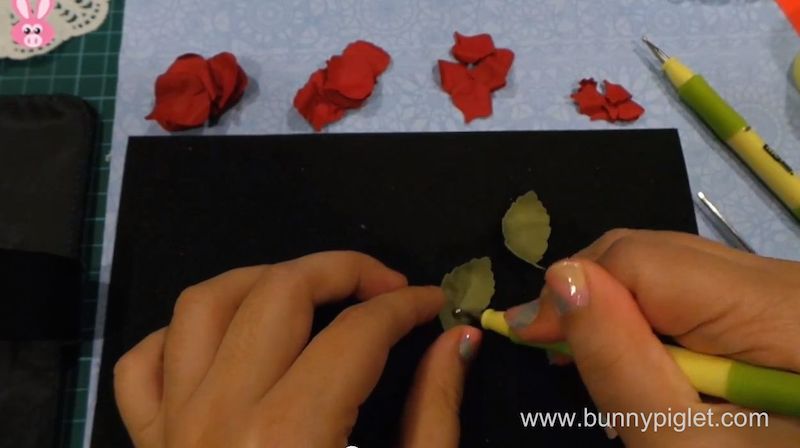
Use 3mm roller ball to draw the veins on the leaves. You can use roller ball of smaller size to make the veins more obvious. But try not to tear the paper.
Step 9
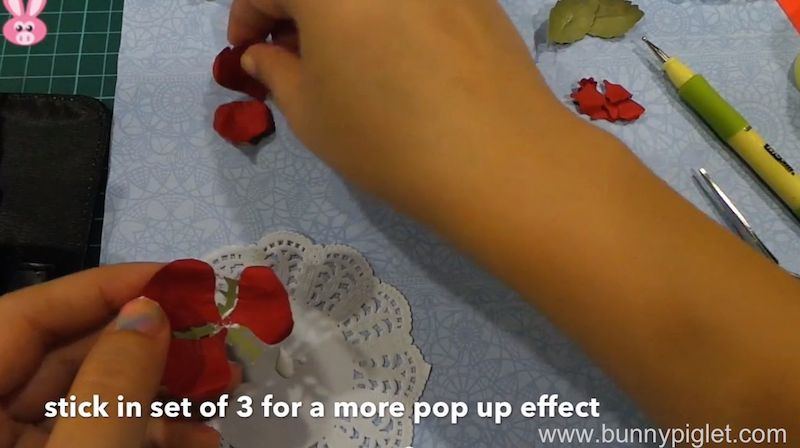
Squeeze some glue on a piece of spare paper. Then start sticking the petals onto the base. Start with the largest petals and stick in a set of 3 for a more pop up effect.
Step 10
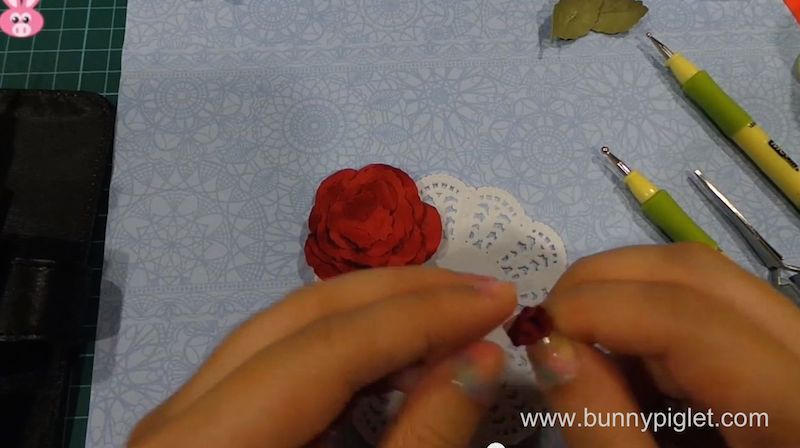
Repeat the process for the rest of the petals except for the smallest petals. For the smallest petals, stick 3 petals down first. Then stick the remainder 3 pieces together before sticking to the centre of the rose.
Step 11
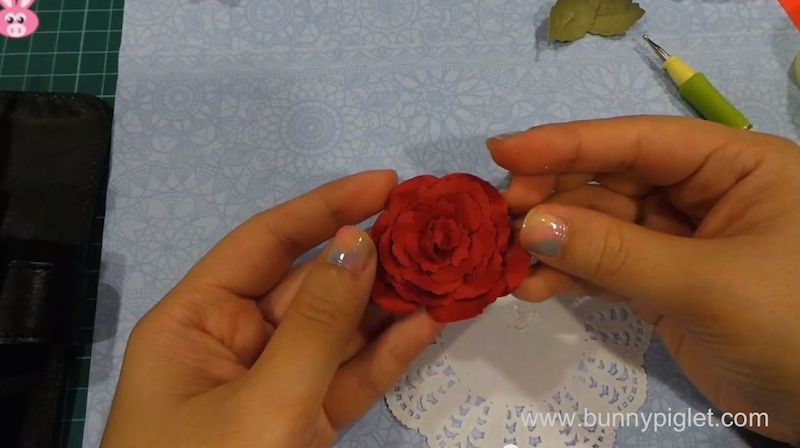
This will be our garden rose. Next let us work on the envelope.
Envelope Making Tutorial
Step 1
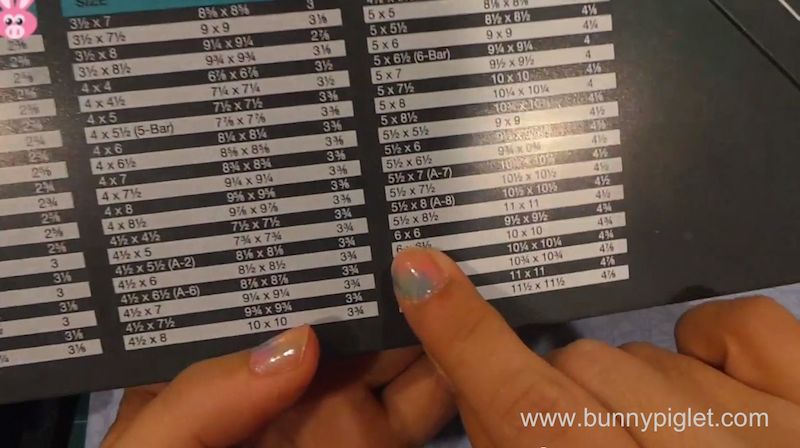
Trim the paper to the correct size. Our card size is 6″ x 6″, thus we need to cut the paper to 9-1/2″ x 9-1/2″. Our position to score the paper is align to 4-3/4″.
Step 2
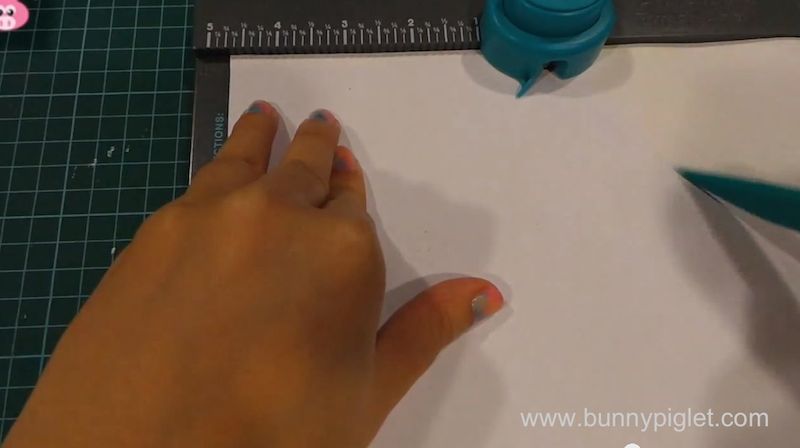
Align your paper to 4-3/4″, then punch and score the paper. After that you will rotate your paper 90deg left and only align your paper to the score line you created.
Step 3
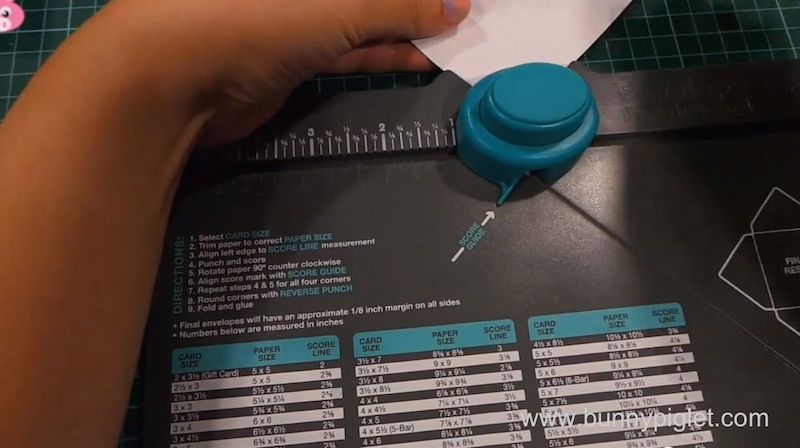
Then you can use the other size of the punch to round the corners.
Step 4
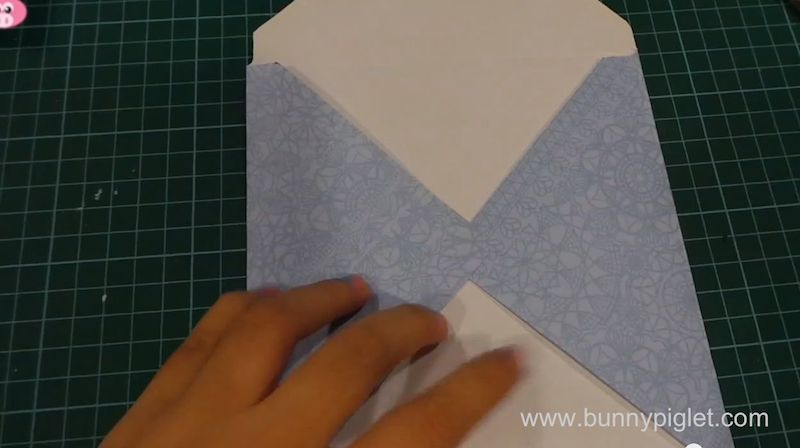
Fold the paper according to the score lines, and your envelope is formed. Then you can stick the envelope together. Your envelope is complete.
Step 5
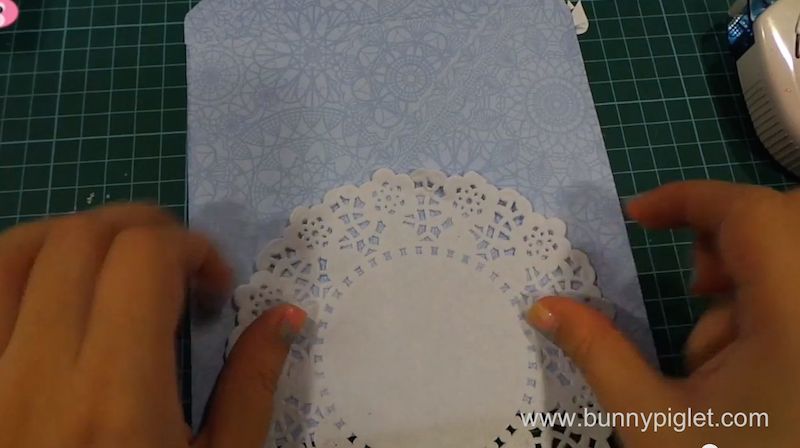
Now we are going to decorate the envelope with our doily.
Step 6
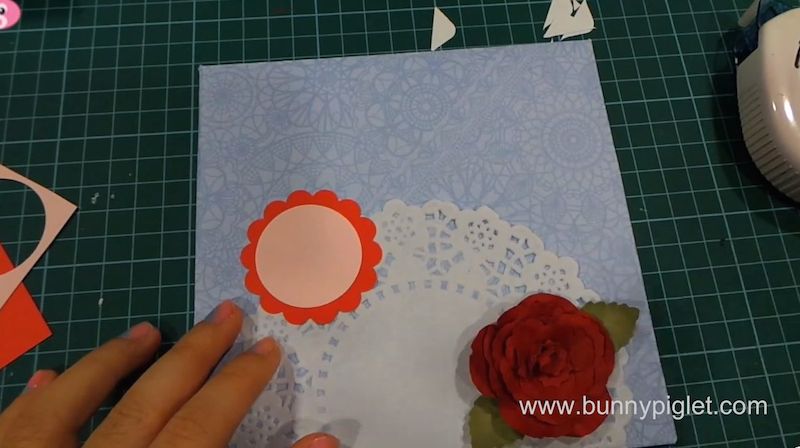
Finally attach the leaves and the garden rose. Then use your 2″ flower punch, punch out a red colour paper. Use your 1-1/2″ circle punch, punch out a pink colour paper. Then stick the circle onto the red flower and attach onto the envelope.
Our tutorial is complete. Hope you like this tutorial. ^^
