I’m a hardcore fan of rubber stamp carving and always wanted to do my own tutorials on hand-carving stamps from everyday materials like erasers. In this lesson, you will learn to carve 3 types of stamps and I will show you how to perform basic cuts like carving a straight line, a curved pattern and how to use the V-shaped tool and U-shaped tool.
The 3 types of stamps used as examples in this lesson are candy/sweet, chocolate bar, and heart shape with the word “love” inside. These are perfect for the upcoming Valentine’s day or for future uses when you want to express your love for that sweet someone.
Introduction
Type of Rubber/Eraser
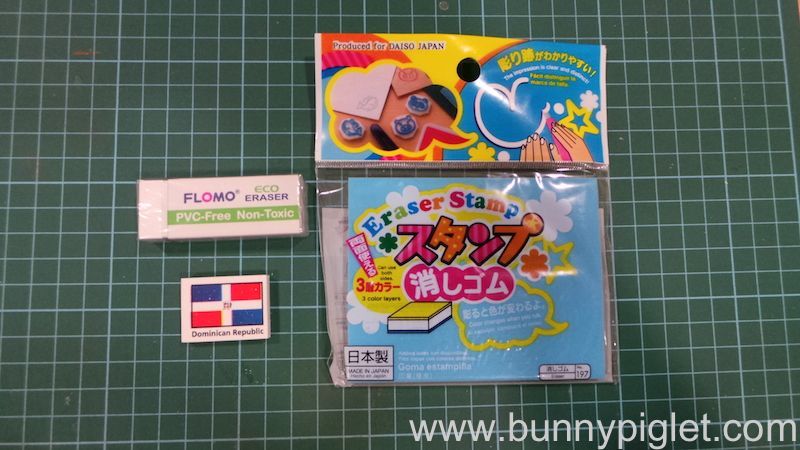
- Any form of rubber/eraser you get from the stationery shop is suitable to make a rubber stamp / eraser stamp.
- Make sure that the rubber does not break easily.
- The rubber does not contain impurity and should be of reasonable grade. This is a very important factor to note. In the past, I had tried to carve on different types of rubber and had some bad experiences when the rubber material isn’t consistent or contains impurities which makes it super difficult to carve. When this happens, the whole stamp would very likely be wasted when unforeseen things happen. This can be demoralising when you are working on a big project and your efforts go down the drain.
- For practice purposes, you can get the “flag design” erasers which sell in a box of about 50-100 pcs for roughly SGD$3.50. This is the type or eraser I am using for this tutorial mainly because it is easily accessible to most people. The other option that I would recommend is the stamp carving rubber from Daiso. This is a cheap and economical product that sells at SGD$2.00 per block.
Carving Tool
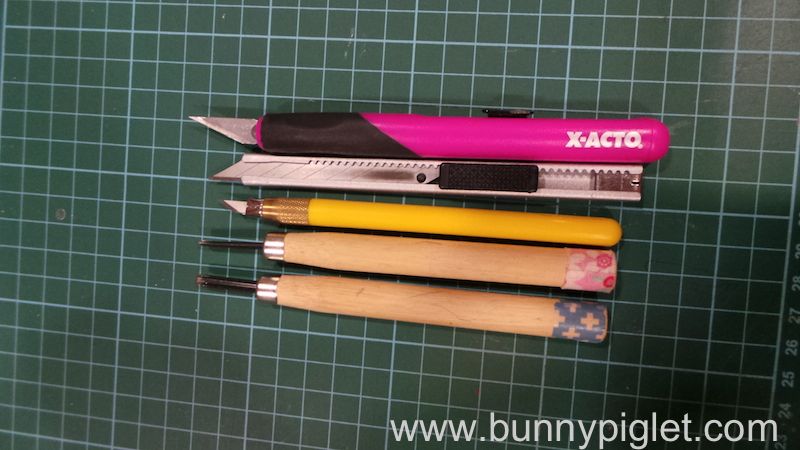
There are 3 most basic tools you will need and I will be showing you how to use them in this tutorial. For the sake of completeness, I will show you a list of tools that other crafters use to carve rubber stamps. The first 3 are the most fundamental tools that are essential for beginners (as shown in the picture above starting from bottom to the top).
- 30 degree art knife or craft
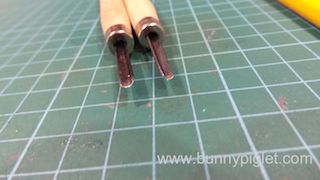
- V-shape tool (from wood carving set) – used for carving out lines
- U-shape tool (from wood carving set) – used for removing excess rubber
- 30 degree blade pen knife (I learnt my carving skills using this pen knife but I prefer the 30 degree art knife for its precision. The difference between these 2 knives is that the blade lies on different side. For the pen knife, it is on the horizontal portion. For the art knife, it is on the slanted portion)
- 15 degree art knife (this is for high precision work and is difficult to control because of the long blade)
Basic Carving Knowledge
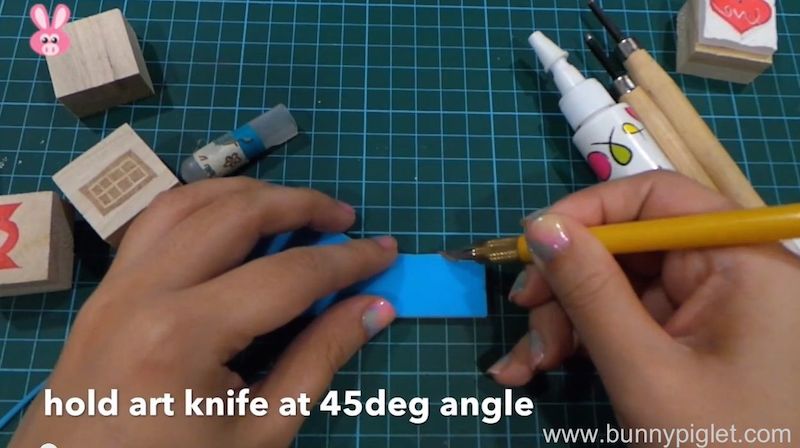
Always hold your art knife at 45 deg angle. When you carve at a 45deg angle, you will create a strong base for your stamp.
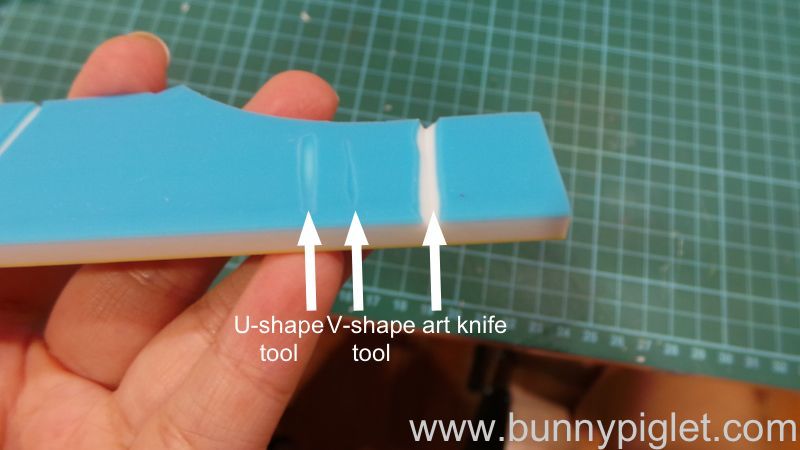
The picture above will show you the different type of finishing that is expected from the 3 basic tools. The U-shape tool will remove large portions of the rubber. The V-shape tool will remove thin or linear portions of the rubber. This makes it suitable for fine lines or details. For the art knife, you are supposed to carve in such a way that you create a V shape valley on the rubber. This is required in order to create a strong base for your stamp.
Materials You Need
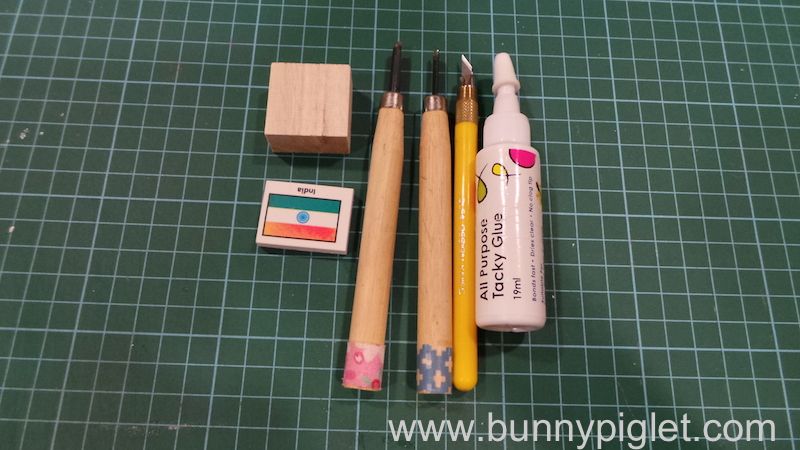
- Rubber / Eraser
- 30deg art knife or craft knife
- V-shape tool
- U-shape tool
- Wooden block (to be use as base support for your rubber stamp)
- Multi-purpose tacky glue / white craft glue is also fine
- Tracing paper
- Pencil
- Pen
- Paper
Instructions
I highly recommend that you view the steps on the video as the visuals will provide a better explanation of the following steps. For people who don’t have time, I had indicated the essential and important points for each rubber stamp tutorial.
Chocolate Bar Rubber Stamp
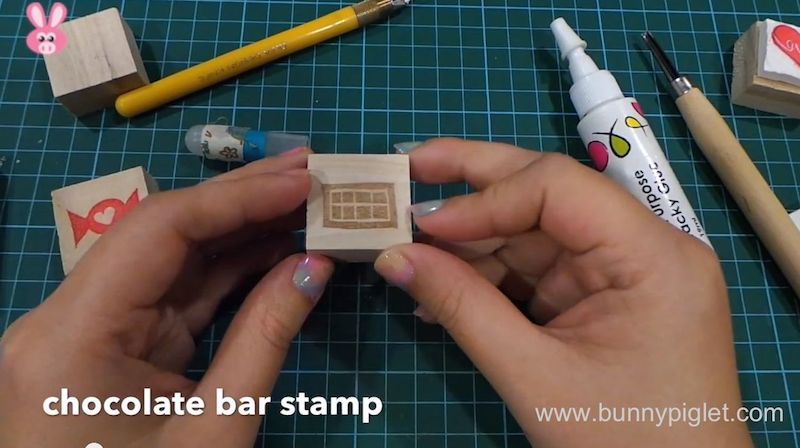
This tutorial highlights the basic on carving straight lines.
Step 1
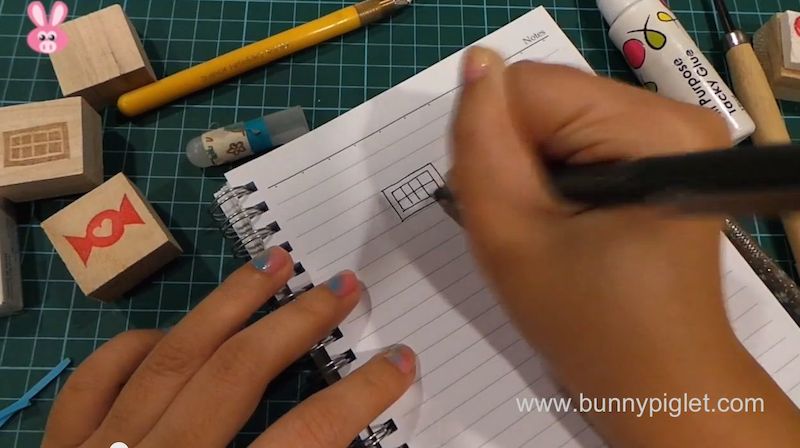
Draw your chocolate bar on a piece of paper using a pen.
Step 2
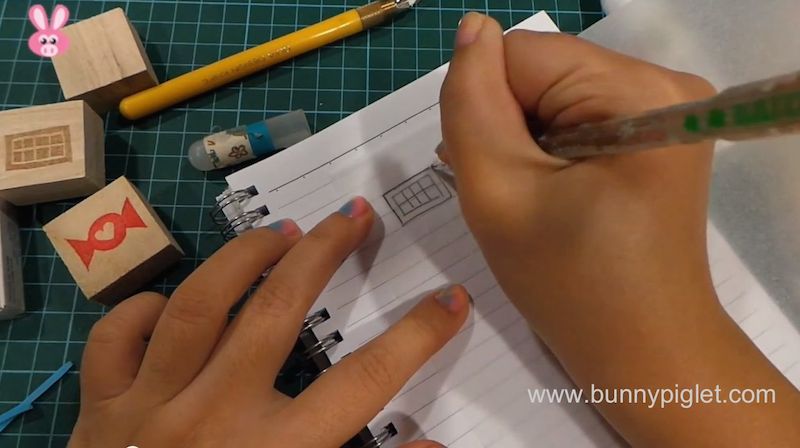
Trace your chocolate bar onto the tracing paper using a pencil.
Step 3
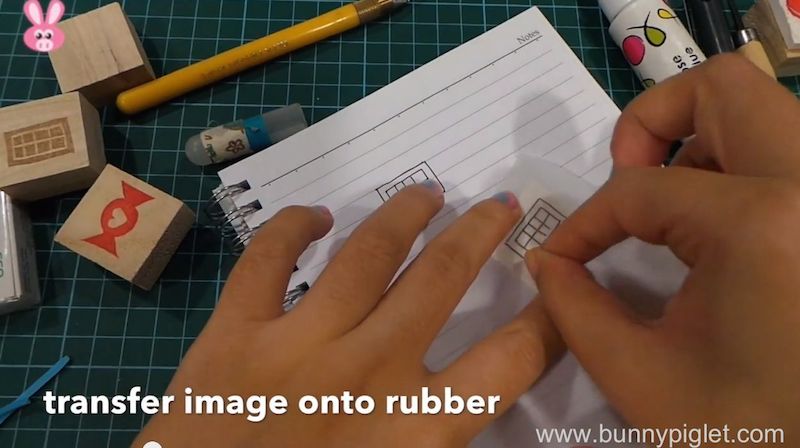
Transfer the image from the tracing paper by flipping over the tracing paper and place it onto the rubber. Then scratch on the image to transfer onto the rubber. Now you will have a mirror image of the chocolate bar on the rubber.
Step 4
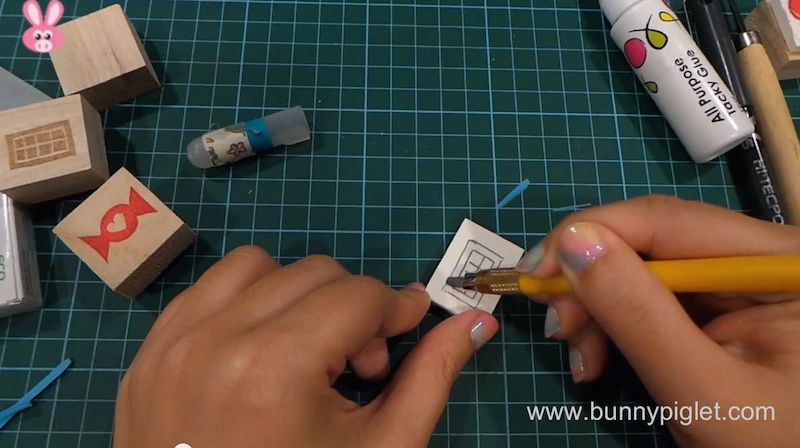
Use the 30 degree art knife. Carve the outline of the chocolate bar. Remember to hold your art knife at the 45 degree angle, pointing outwards.
Step 5
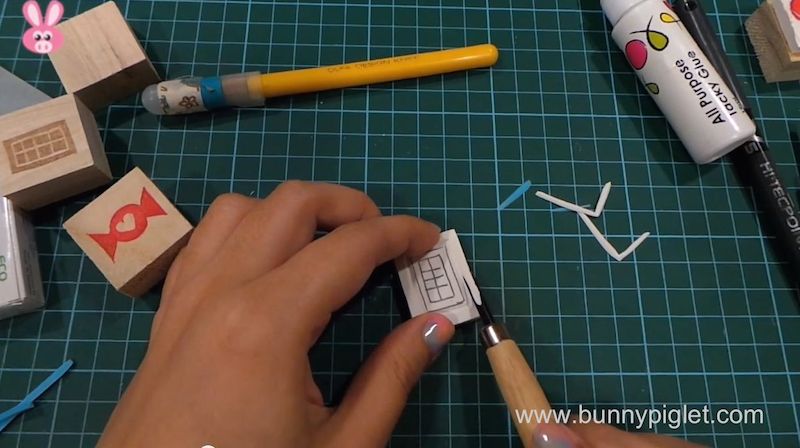
After carving out the outline, you can use the U-shape tool to carve out the excess portion outside the chocolate bar image.
Step 6
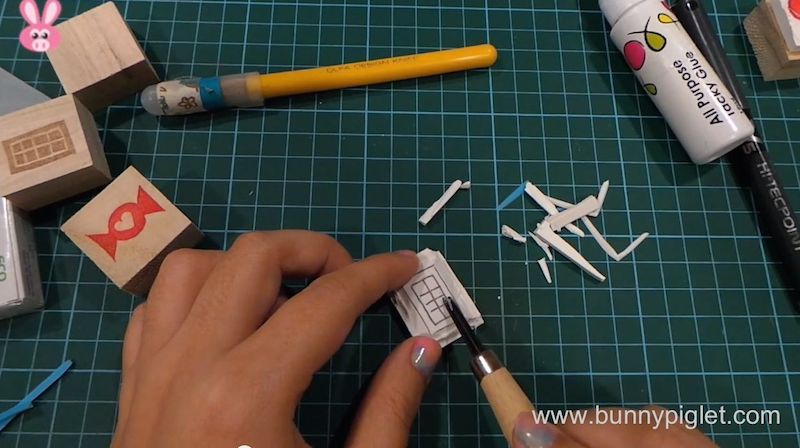
Use the V-shape tool to carve out the internal lines of the chocolate bar.
Step 7
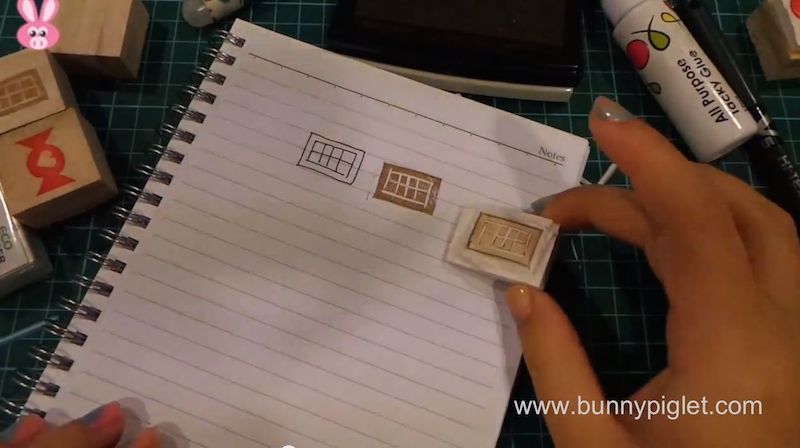
Now test print of your image on a scrap paper. If the image is not good, continue to remove the excess area that is appearing on the printed image.
Step 8
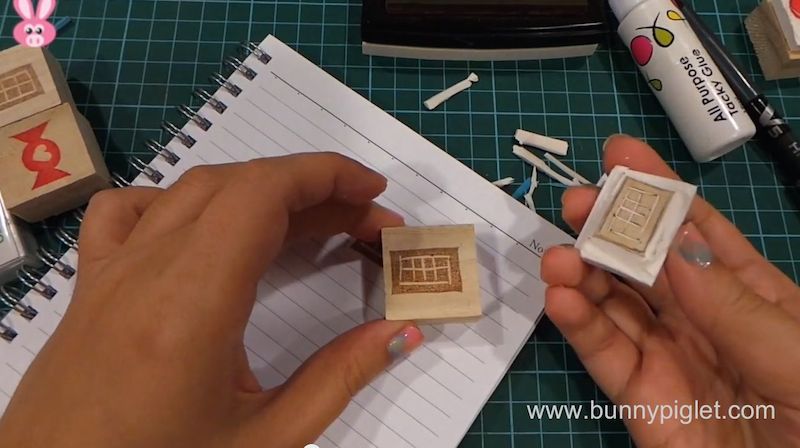
If the image is good, you can ink the image onto the wooden block first.
Step 9
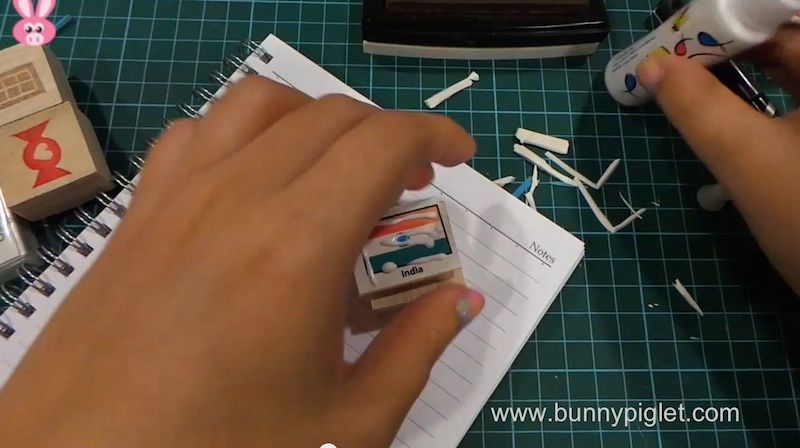
Then, you can stick the completed rubber stamp onto the wooden block. If you forgot and stick the rubber stamp first, just ink the image onto a piece of paper and cut it out. Then stick on top of the wooden block. =)
Candy Rubber Stamp
The basic steps are more or less the same as the chocolate bar rubber stamp. I will only highlight the points to note for this tutorial.
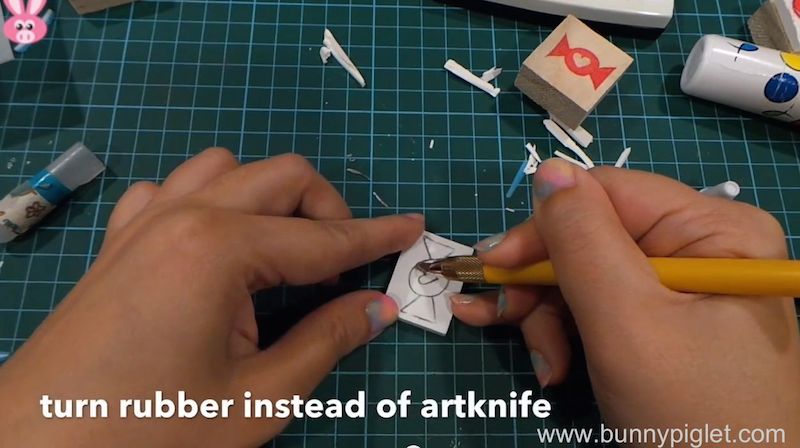
This tutorial highlights on carving curve lines. The point to note for carving curve lines is that you should place the rubber on top of the table and keep the art knife steady. Use your left hand to turn the rubber and keep your right hand that is holding the art knife steady. This will prevent your curve lines to become jagged. If you prefer to do it the other way round, by all means go ahead if you find that it works for you.
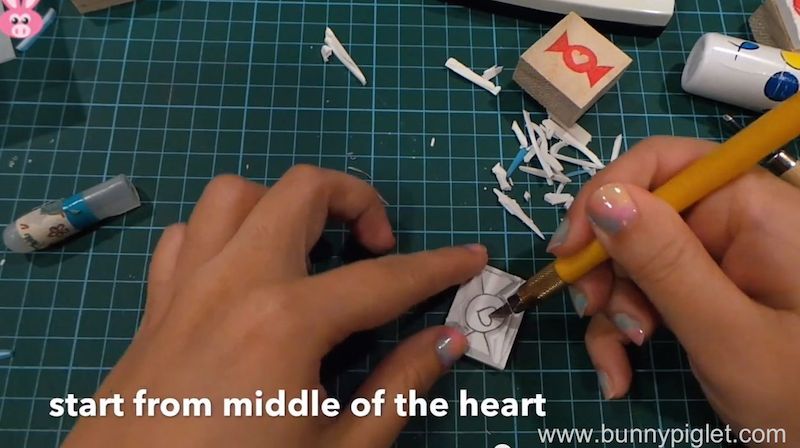
When you are carving the heart inside the candy, start from the centre of the heart and move outwards. Do half of the heart at one time. Do not attempt to carve the whole heart in one stroke. Chances are you will not get a nice looking heart if you do that.
Love Heart Rubber Stamp
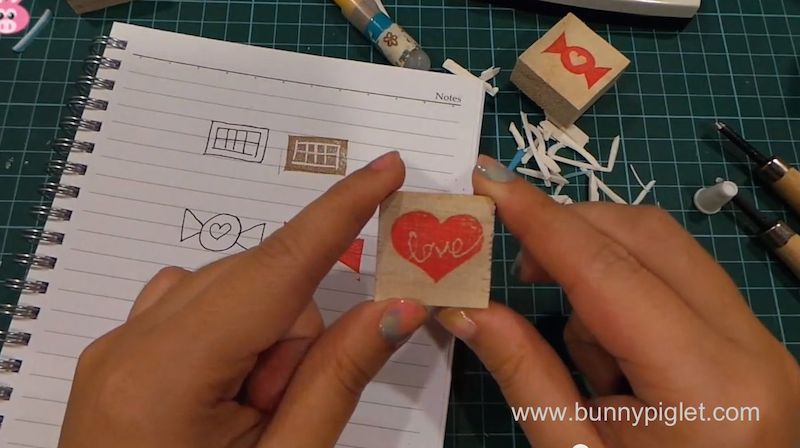
This tutorial will show you how you can carve out letters using the V-shape tool.
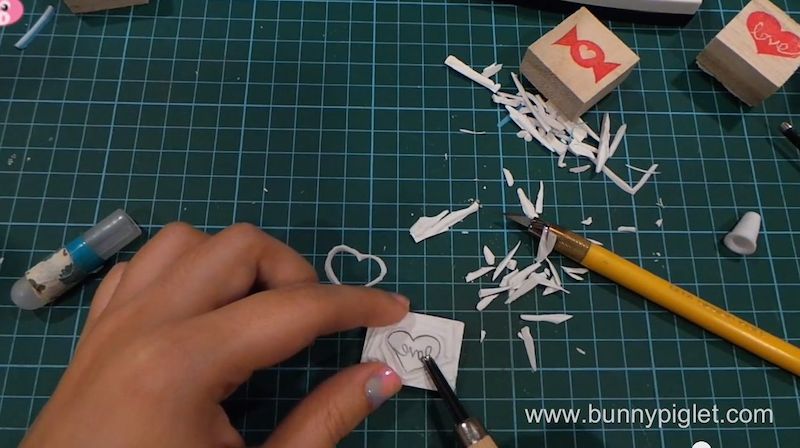
After carving out the heart shape, hold your V-shape tool at 45 degree angle and start carving out the letters as printed on the rubber. Although the line is continuous, you can take a break and continue to carve on it. Using a similar procedure to carving curved lines, you should turn the rubber and keep your carving hand fixed when working on the letters. In this way, your eyes can see clearly where you are carving.
That’s all for the basic rubber stamp carving tutorial. The key takeaway is that you need to practice in order to get better at your new found skill. With some dedication and consistency, I assure you that your carving skills will get better as time goes by.
Great post! I’m running out to get some carving rubber and tools soon 🙂
Hi Nueyer, thanks for the compliment! Please share with me your completed works. I’m glad you find my tutorial useful! Have a great day! =)