Do you have a picture or some famous quotes you found online that you would like to make into an eraser stamp? Tracing the image is too tedious and you will not be able to get the precise image you want to achieve. There is a little trick I learn from other fellow stamp carvers on how to make it possible. The key ingredient is nail polish remover! It can remove your nail polish and thus it can remove the printed ink from the laser printer to your rubber. Go through the video or look at the steps below.
P.S.: I am sorry this video does not contain most of the carving part as my hand went out of frame. I will be doing another video using the same technique on a different project. This video will be dedicated to my cousin and her hubby-to-be as this is my little wedding gift for her.
List of Materials
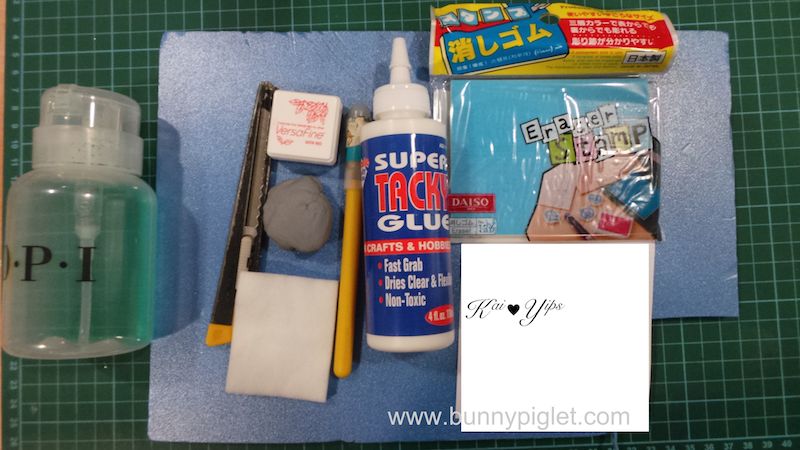
- Nail polish remover
- Cotton pad
- Pen knife
- Art knife
- Multi-purpose tacky glue
- Rubber/eraser
- Kneadable eraser
- Ink pad
Instructions
Step 1
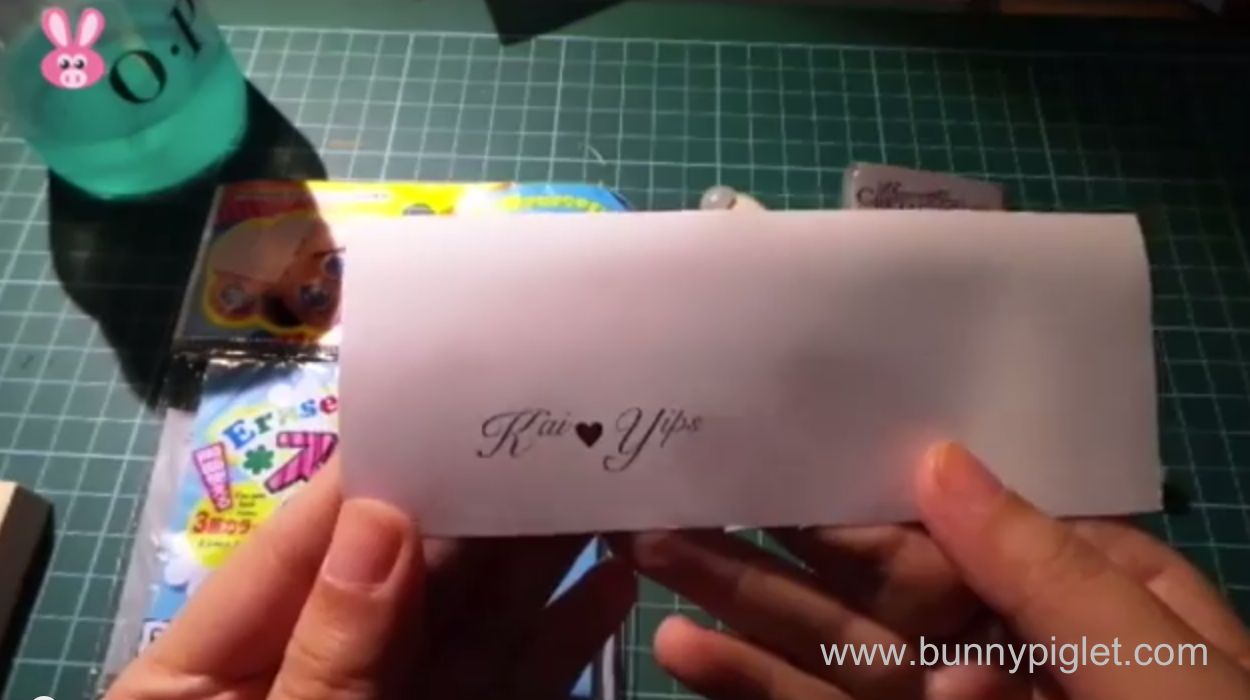
Print your image using Laser Printer. I have not tried with other type of printers though, but I heard it doesn’t work.
Step 2
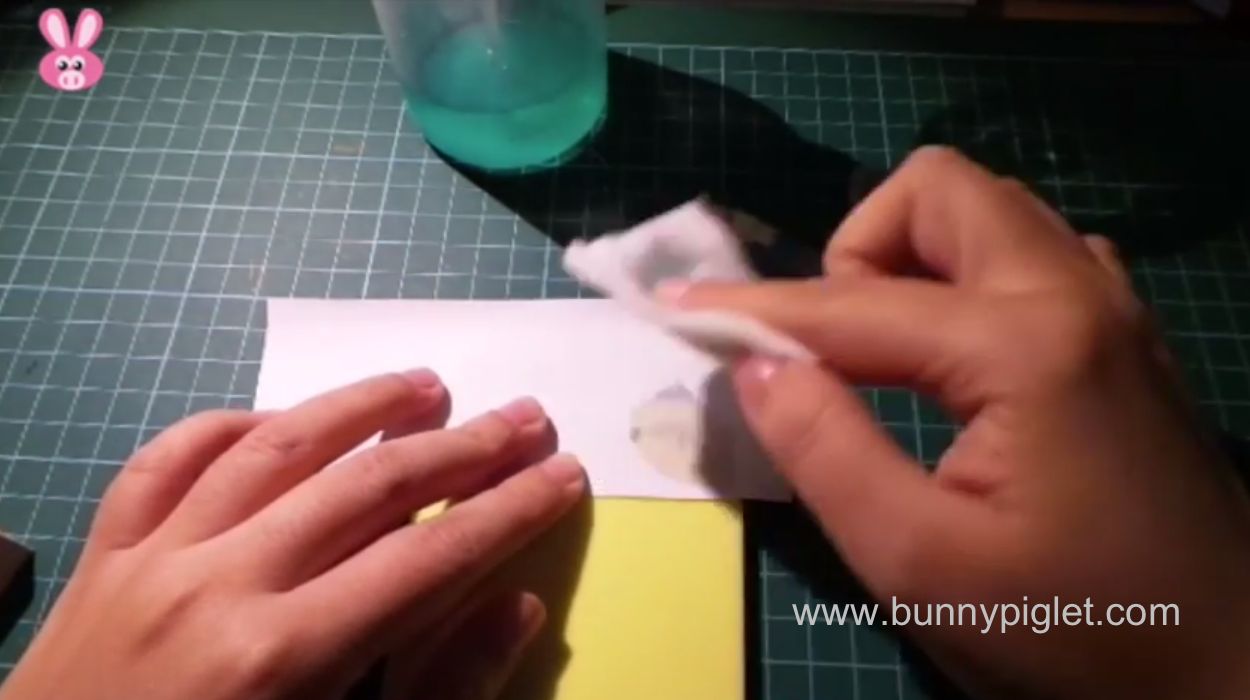
Soak your cotton pad with nail polish remover. Flip over the printed paper and place on top of the rubber. Then dab the soaked cotton pad over the paper.
Step 3
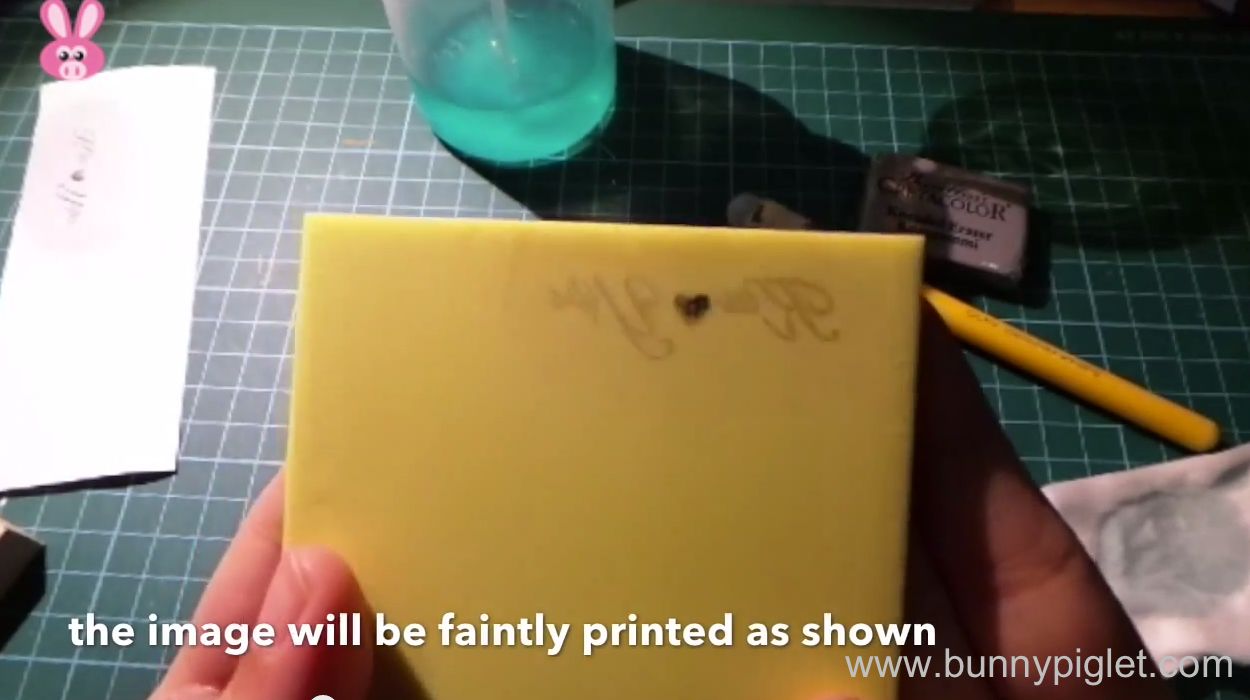
Your image will be faintly printed if you are using the Daiso eraser.I have not tried on many erasers using this method. It might not work for all erasers depending on the surface of the eraser.
Step 4
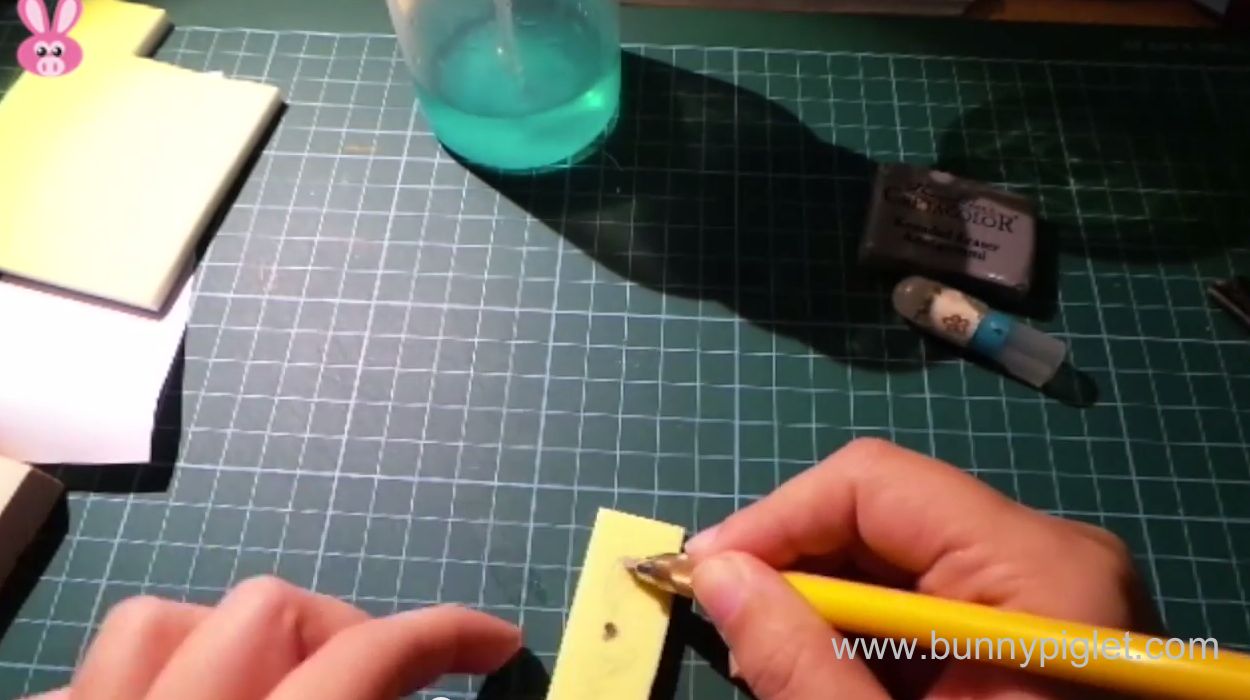
Start carving. Start from the outline then go into the details.
Step 5
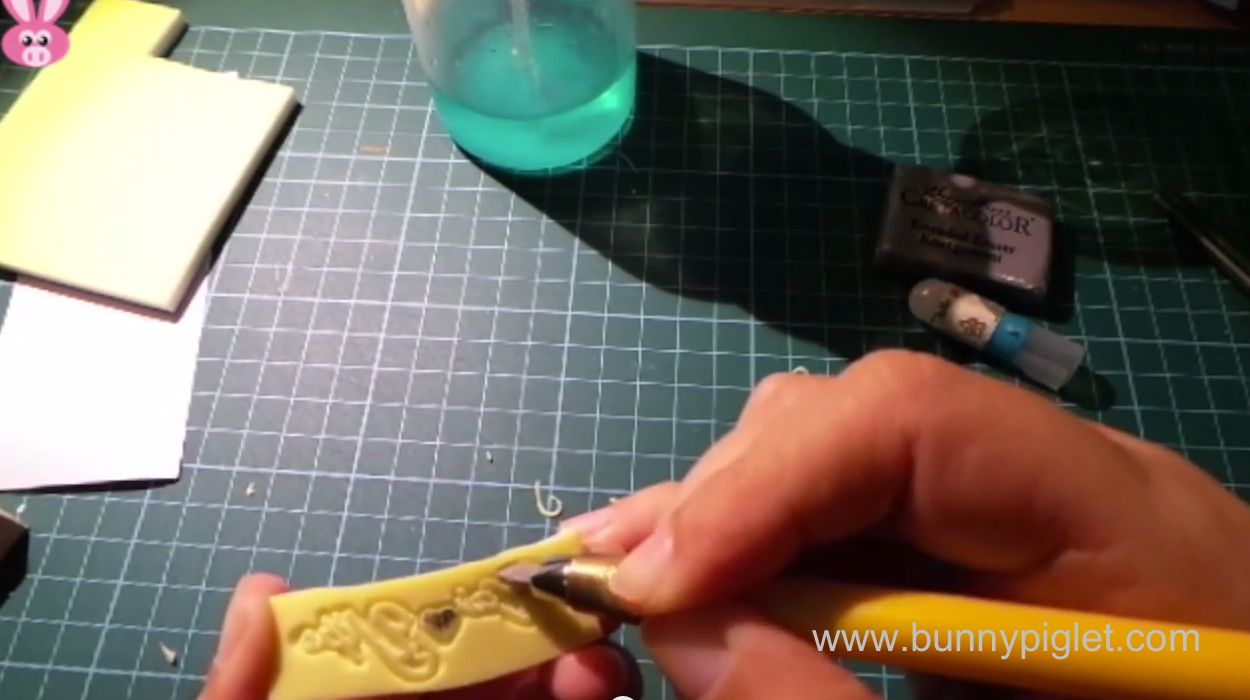
Optional step: you can go over the outline again with a deeper cut to create a cleaner looking stamp. However if you do not have enough carving experience, maybe you should try this step at a later stage. I only started this step after 1 year of practise. Be patient and keep practising!
Step 6
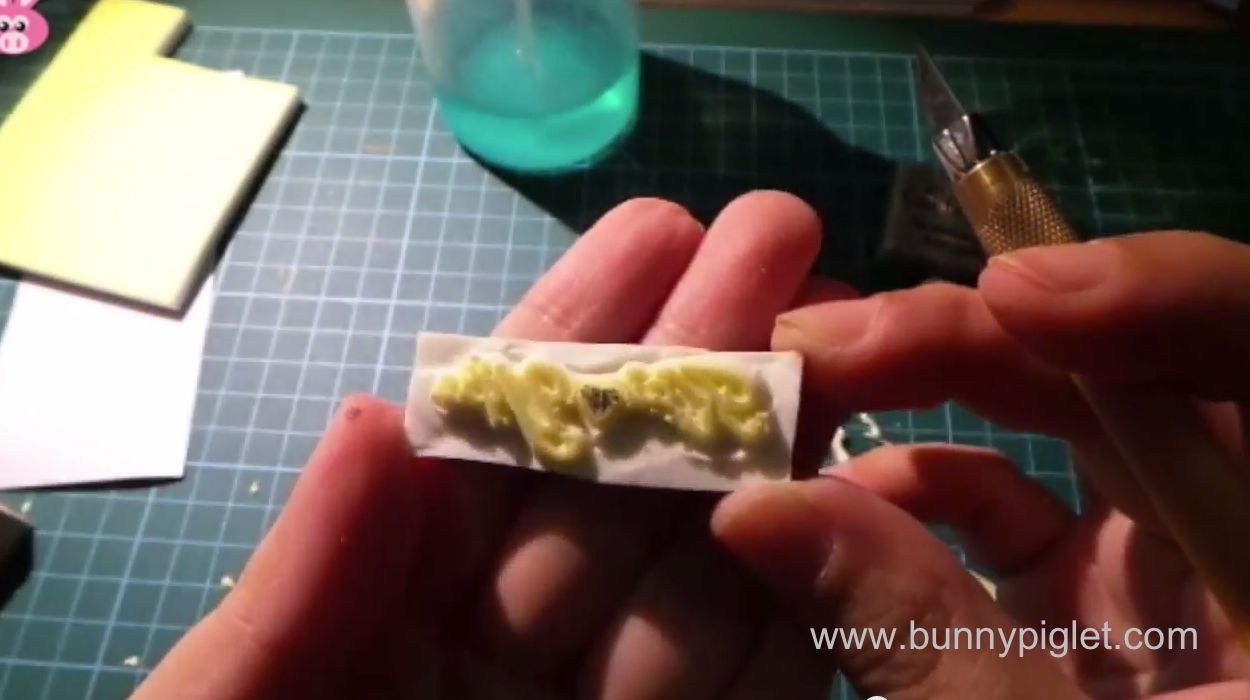
This is the completed look of the eraser stamp.
Step 7
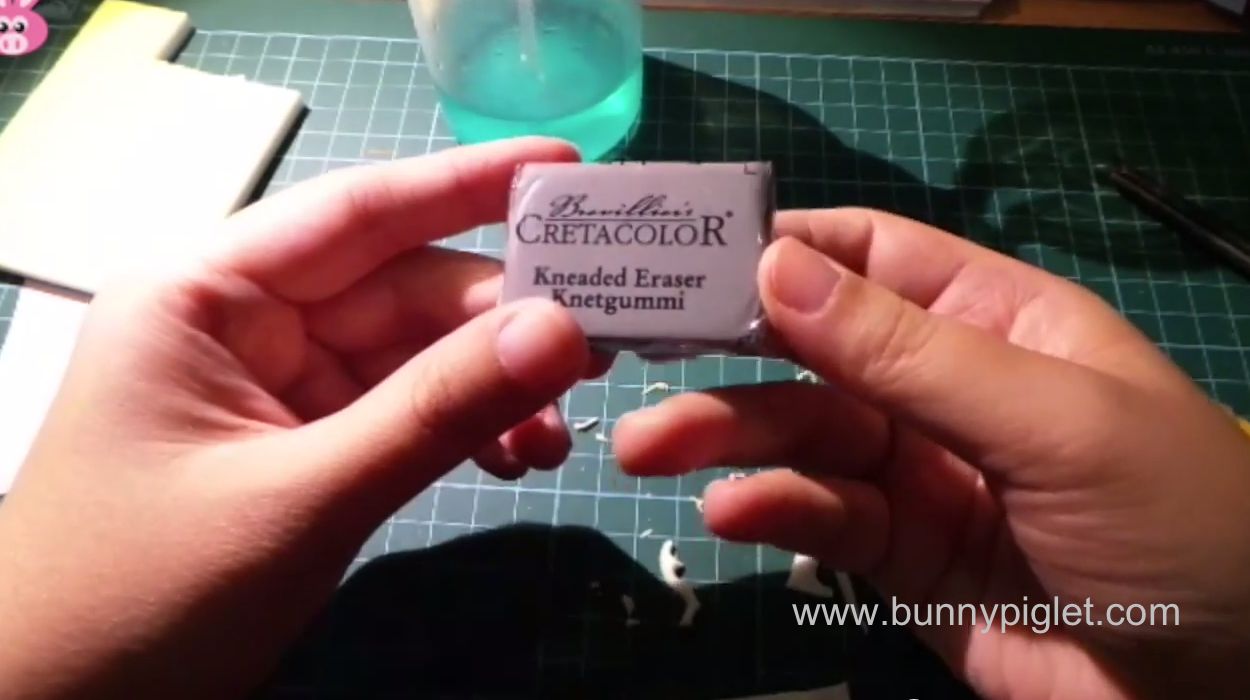
Now you can use your kneadable / kneaded eraser to remove small little excess that is stuck onto your stamp.
Step 8
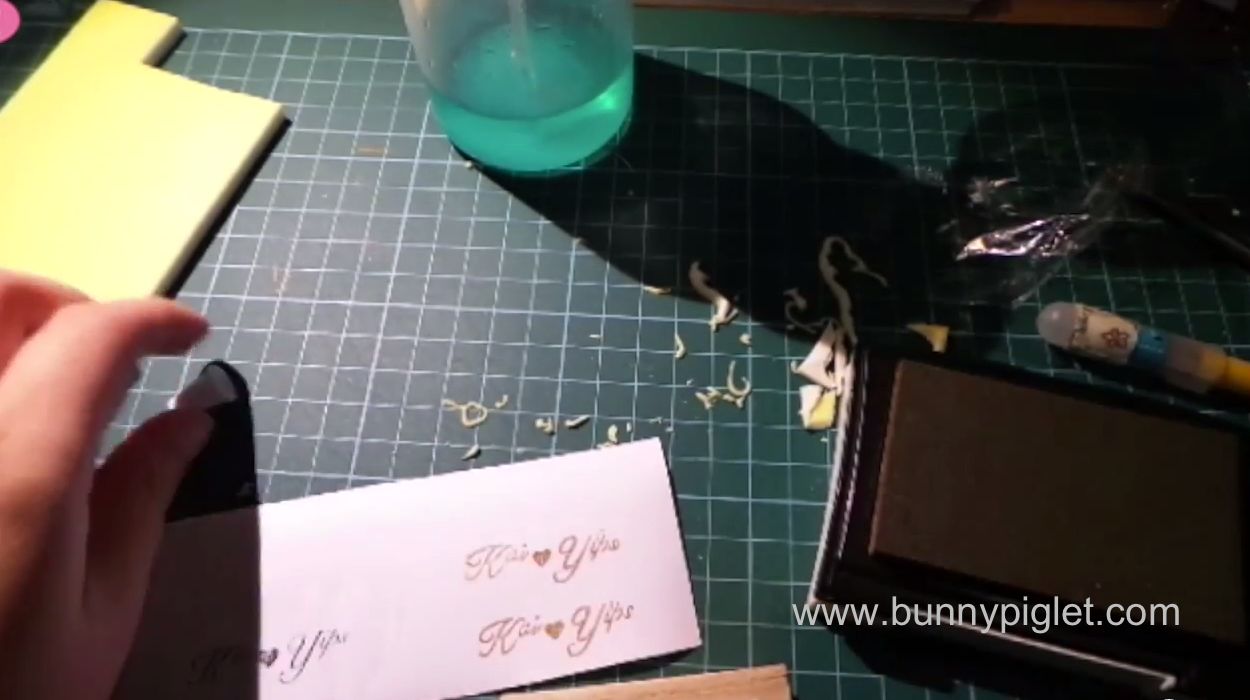
Now you can test print of your rubber stamp. After you are satisfied with the print. Use your tacky glue to stick it onto the wooden block.
Step 9
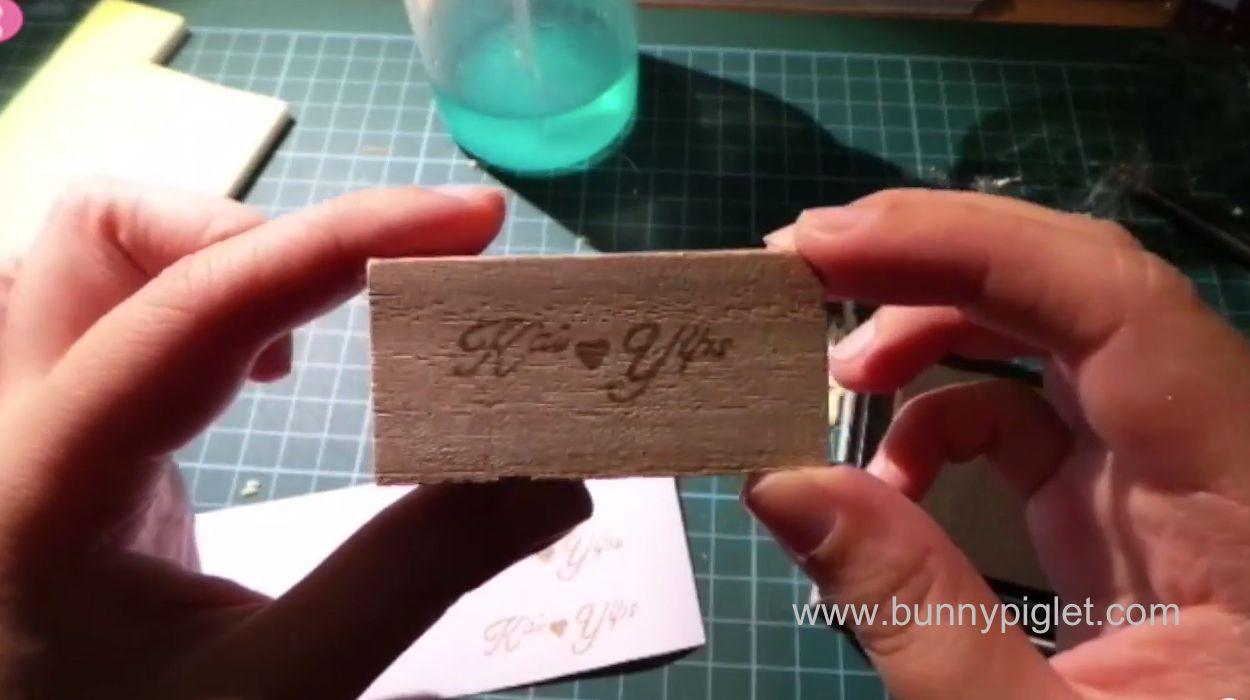
Here is the completed stamp on the wooden block.
Thank you for watching! Hope you find this skill useful~!